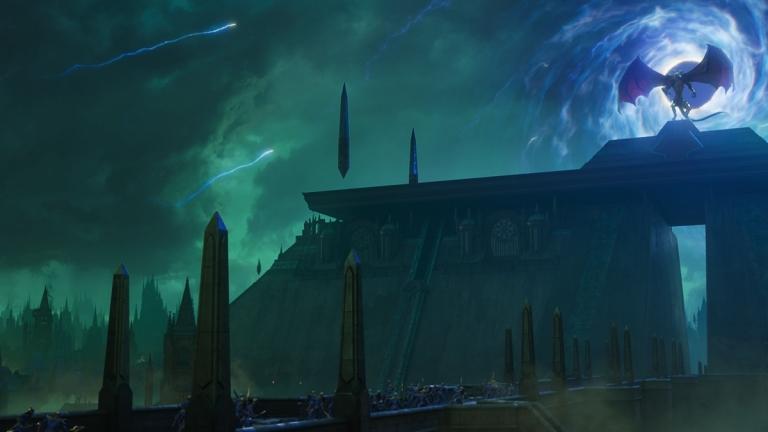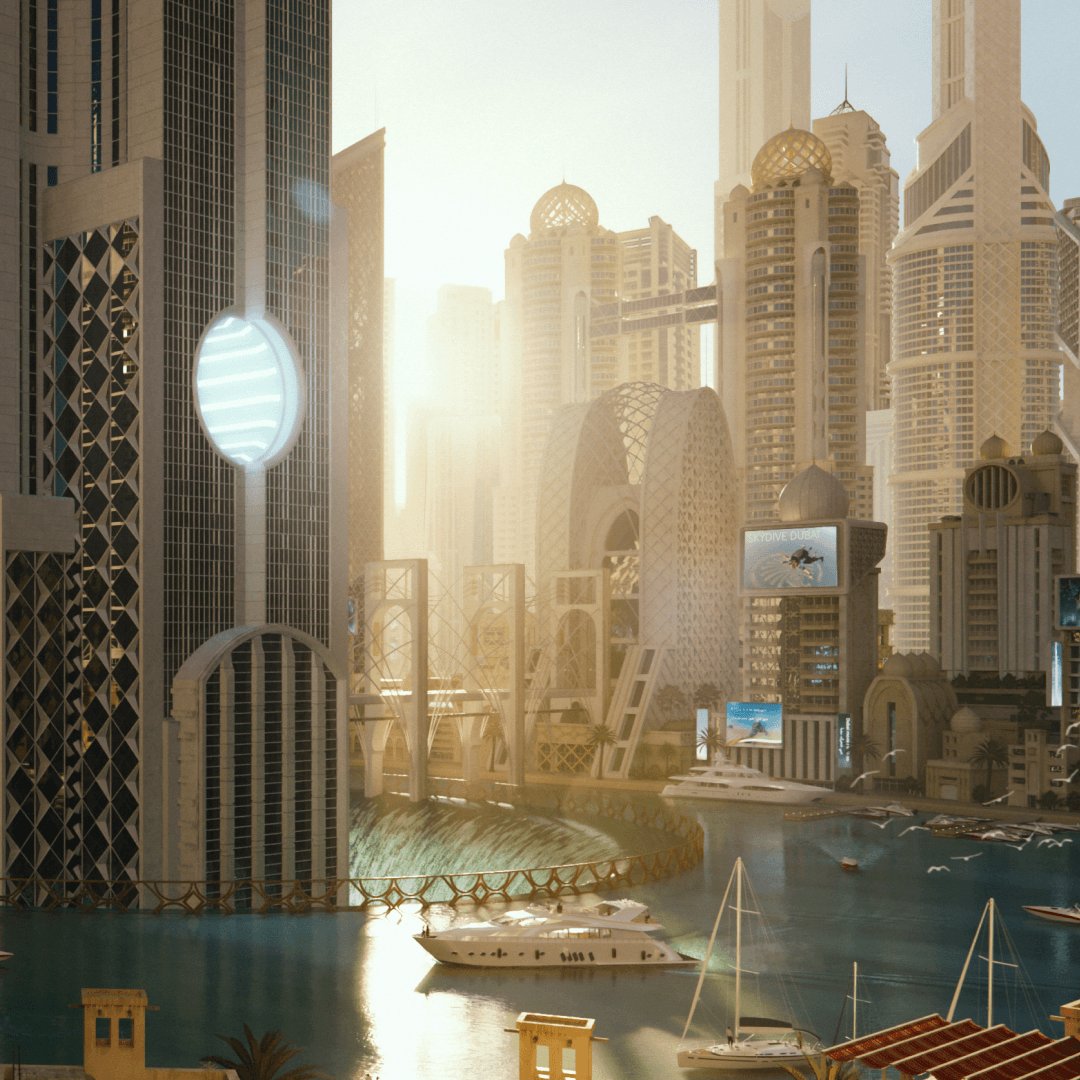
While creating the cover art for Sci-Fi Industrial, Senior Concept Designer Ben Mauro (Halo Infinite, Huxley) shared insight into his incredible career, including behind-the-scenes of his workflows for his 2019 #Inktober posts featuring KB3D assets.
KitBash3D: Welcome back, Ben! For those members of our community living under rocks, what's your origin story and entry into the world of concept design?
Mauro: Thank you, always a pleasure. When I was just starting out, I was around 18 or 19 when I decided I wanted to do this for a living and started working on an early portfolio. Initially, I really wanted to work in the game industry, because in high school I was obsessed with films and games, especially the original Halo.
My goal at the time was to work at Bungie designing architecture and levels, which led me to attend a 3D animation school in Seattle called DigiPen. While there, I became more interested in drawing and concept design, and transitioned in the middle of my education to California's Art Center to study Industrial Design and Entertainment Design. At the time, the school had the likes of Scott Robertson and Neville Page teaching, and I just thought it would be an incredible opportunity.
Living and going to school in LA, things are so connected - all of your teachers are working professionals and Art Directors. Once my skills reached an acceptable level it was pretty easy to transition into working in the entertainment industry. Even though I wanted to work in games at the start, I ended up moving to New Zealand to work at Weta Workshop on a bunch of films, like The Hobbit trilogy, Elysium, Chappie, and a few more over those four years. After that, I circled back around to working on more than a few Call of Duty games, and eventually made my inner 17-year-old-self happy by accepting a role working on Halo. All in all, it's been around 13 or so years now since I started working professionally; time flies but I still feel like I'm just getting started!

KitBash3D: What inspired you to sneak in a couple of #Inktober submissions? Was it an opportunity to experiment with tune shaders? Mixing 3D and 2D? Your passion for comics?
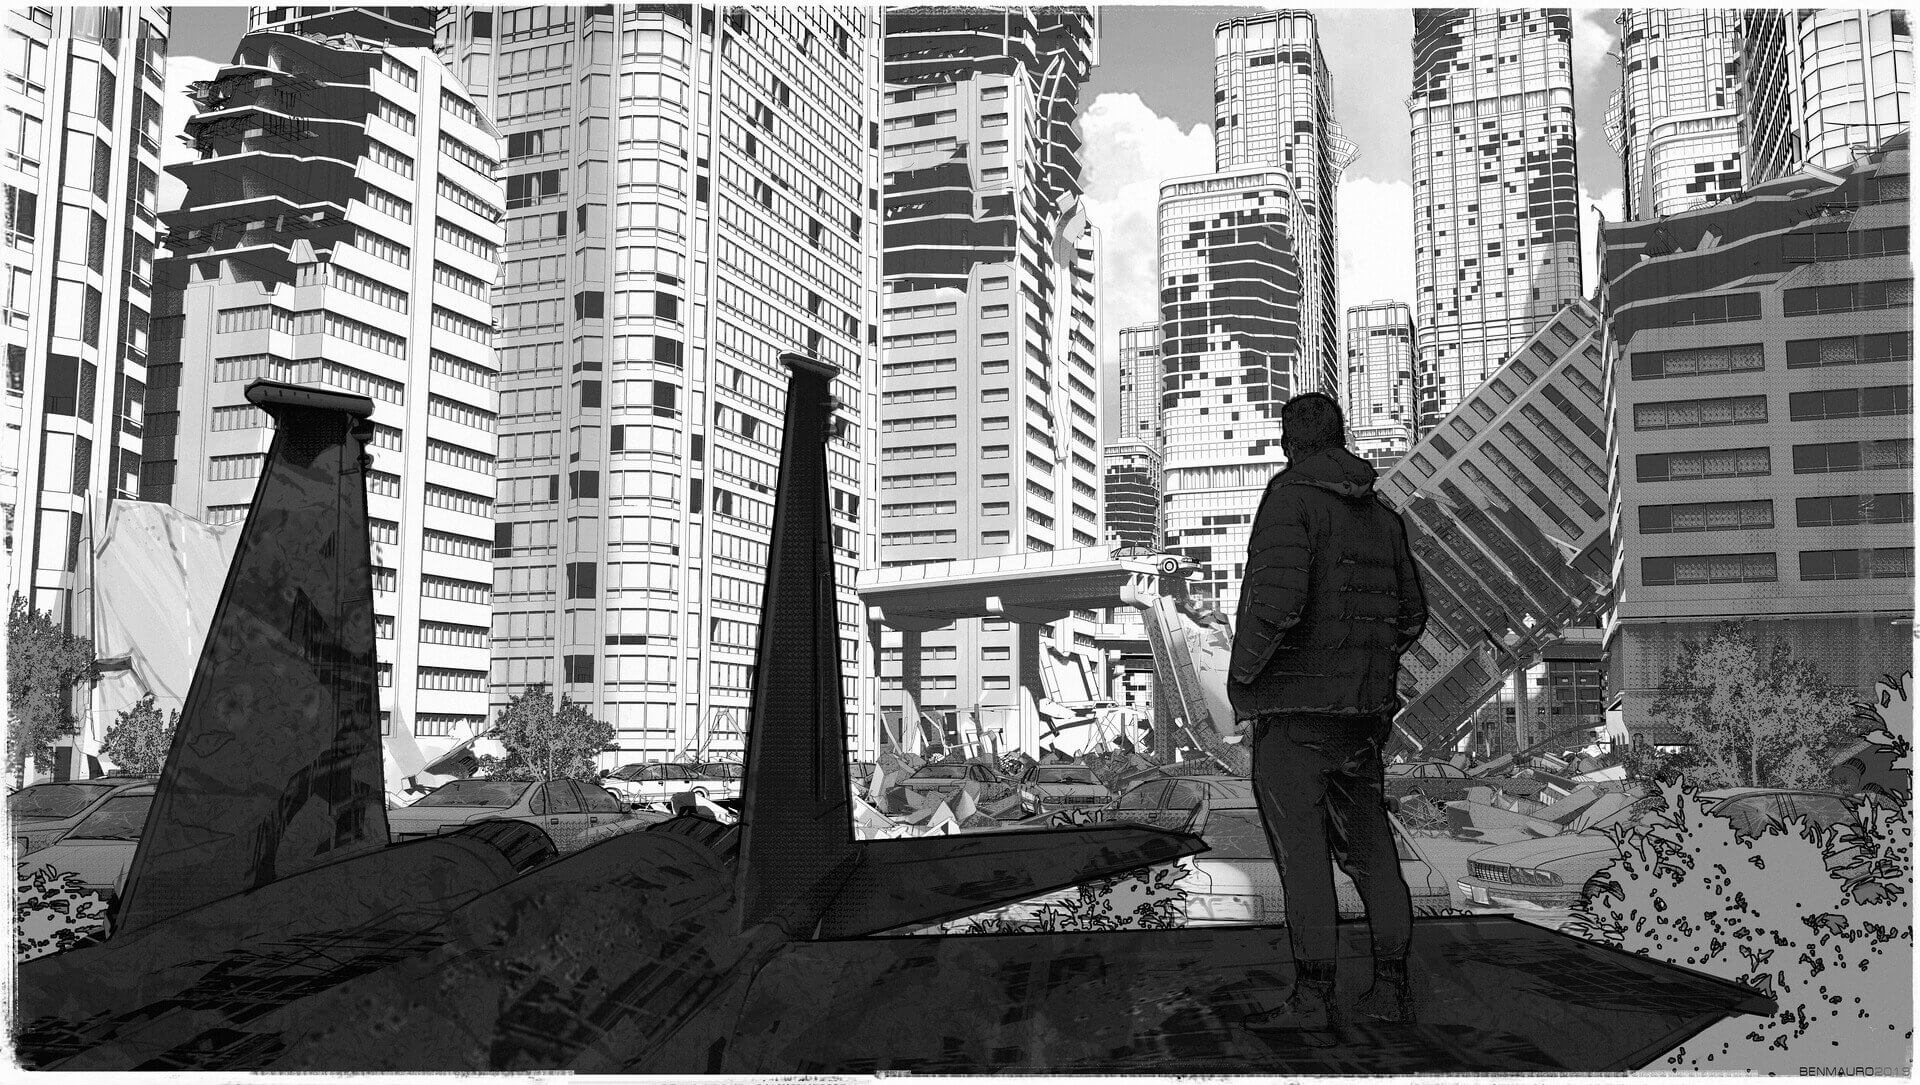
Mauro: There are so many tools, techniques, and resources I have at my fingertips, but many of them I end up not having an outlet to use when I want to. Usually this is the case because the subject matter of the various jobs I'm working on doesn't overlap, and other personal projects take up the rest of my free time. So when Inktober comes around each year, I think of it as a fun excuse to experiment and execute a few of the ideas and workflow techniques I might not otherwise have the opportunity to use. These particular shots I wanted something along the lines of "Is it possible to get an Otomo/Akira style image with one click?" I had used some of the KitBash3D kits for freelance jobs here and there, so a lot of my late-night experiments after that would be to play around with some of the kits in Blender and other programs. I used this time to see what was possible and find some cool solutions I could implement in all my work.
For these images, I was experimenting with the toon shaders in Keyshot 8, which are really nice and are very easy to adjust. I'm still trying to find a way to replicate something similar in Blender so I can just do everything in one program, but Keyshot 8 just had a great user-friendly shader to use for these experiments, so I went with it.

KitBash3D: Can you walk us through a step-by-step of your Inktober workflow?
Mauro: First things first, I import the KitBash3D assets into Blender to start assembling the scene I want. In this case, some sort of megacity that's been destroyed with some soldiers walking around exploring. I use Blender because it's so fast and easy to work with, it's very user friendly, and it creates great results without the program getting in the way of me working...also, did I mention it's free?

Mauro: I tried to arrange things in a semi-logical way: fallen buildings, bridges with abandoned cars still on them, maybe some hanging off the edge, that kind of thing. Maybe some sort of horrible event happened in rush hour traffic so many of the taxies were abandoned in that position, maybe looters had moved some to create barriers, maybe one of the skyscrapers fell over and displaced a lot of objects, or maybe fighter jets were dogfighting but the EMP blast fried their electronics so there are crashed jets scattered around as well.

Mauro: Coming up with little stories helps later when you start moving around the space with your camera to take photos of cool compositions to add a bit more context and interest to the images. Once I'm relatively happy with the scene assembly, I export the scene as a .obj or .fbx and bring it into Keyshot 8.

Mauro: Blender has some very powerful material and rendering engines (Eevee/Cycles) for photo-realistic renderings built-in, for these experiments the goal was more of an Otomo/Akira looking vibe and I haven't found a toon shader/material in Blender just yet that is as easy to use as what is in Keyshot, so I decided to use that program for these nightly experiments.

Mauro: Once inside Keyshot, I applied the "toon shaded white" material to all the geo in the scene and started playing with the material settings on the right to adjust how the shader renders the forms. Making lines thicker/thinner where I want them, getting something in the ballpark of what I was going for. After that was looking good I turned on the environment shadows and went into the environment tab and started playing with the custom HDRI settings which allows you to have a simple sunlight /cast shadow system in the scene to get a bit more control over where you want to cast shadows to be and give the shadows more of a sharp graphic look that I was going for.

Mauro: After that you can just fly around the scene setting up cameras in interesting locations with cool compositions, then select some of your favorites, lock the camera in place, and start adjusting the lighting. It's here I get to see what might make the most interesting image based on what I was trying to go for originally.
After rendering out a few options it was just some minor adjustments in Photoshop - maybe I'd add some cloud photos in the background to add some more life to the scenes.


Mauro: It wasn't 100% Otomo quality that I was hoping to achieve, but it was cool to get something in the ballpark as a starting point, letting my hardware and 3D software do all the heavy lifting for me, so my job is less time consuming. For me it is more about having fun as an acting photographer within the cool scene itself.
The advancements in software have been the most exciting things for me over the last year or two. All these programs have gotten so user friendly that many of the previous difficulties have simply melted away. I feel like a kid again, empowered to play with toys and make cool images without technology or hardware limitations getting in the way.

KitBash3D: We noticed you began "May Sketch A Day" earlier this year on Instagram, and utilized a change in style from your Inktober images, what changed?
Mauro: Ultimately it was the shader. I was exploring various YouTube videos as a starting point, then began experimenting more with different texture node techniques to get different/complicated effects within the black areas so it wasn't pure black.


KitBash3D: When you find time to do experiments with personal projects like Inktober and May Sketch A Day, do KB3D kits help you with speed to allow for the limited amount of free time you have to invest?
Mauro: Absolutely! Even on freelance jobs, KB3D kits are extremely helpful for getting a very detailed image to clients faster. Before we would have to do everything from scratch, having assets like these are invaluable in a huge range of jobs. They allow me to focus on solving my client's problems immediately instead of needing to spend a huge chunk of time and budget creating everything from scratch. There are so many real-world based jobs that pop up-- the kits forego me having to research Japanese temples or NYC skyscrapers or Brutalist architecture, then track down a good reference, make all the textures and apply UVs by hand, etc. With KitBash3D, I can just focus on making the cool cinematic image the director wants to see in a few hours instead of a week.

Mauro: It's very handy for personal work or an individual wanting to learn some new 3D packages or rendering techniques. I can just focus on learning the exact thing I want to in the limited free time I have at night, instead of spending a whole week of my nightly free time building the asset I need to test things out on.
Having a robust resource library and good hardware at your fingertips allows for immediate creation at any moment...it's rather intoxicating and addicting! Taking an idea and then 30 mins later having photoreal cinematic renders of some epic scene is like magic to me, my younger 17-year-old self would be in awe.

KitBash3D: In addition to your work on Halo Infinite and KB3D covers, you also have a graphic novel in the making, HUXLEY™. What can you share with us about this other project of yours?
Mauro: The official website for my graphic novel HUXLEY™ is live at www.huxleysaga.com!!! I started early designs for Huxley in 2008 while I was still a student. I had a fascination with exploring a junky post-apocalyptic universe inhabited by robots and people. Obsessed with French graphic novels, Japanese Manga, Anime, science fiction, and post-apocalyptic adventure stories, I started to forge all these elements together into something larger. It wasn’t until 2014 when I created the yellow robot named HUXLEY that I started taking things more seriously and began writing a story to craft this into a larger, living, breathing universe.

Mauro: Fast forward to 2020, where after working quietly behind the scenes for a number of years in my free time I am approaching the end of the story. I peeled back the curtain for a small preview at the end of 2019 to reveal the upcoming graphic novel - an epic adventure story in a bleak but colorful post-apocalyptic world.
Presently, the graphic novel is being finalized and edited for publishing. I'll have some exciting things prepped for release and more info coming soon! You can visit huxleysaga.com and follow all future updates, news, and content related to HUXLEY™.

KitBash3D: Thank you Ben! Do you have any last thoughts of wisdom to pass along to fellow artists in our community?
Mauro: Creating art is the greatest way to learn and understand things on a deep level, to communicate to the world, a way to tell stories that can last forever, and share knowledge through time. It's an endless mountain to climb that always has another peak after you reach the top which excites me the most, there is always something new to learn, improve, and grow at. It's hard for me to think of anything else that's more worthy of me to dedicate my life to.

About Ben Mauro:
 Ben Mauro is a Senior Concept Designer in the entertainment industry. He studied industrial design and entertainment design at Art Center College of Design in Pasadena, California. After college, he relocated to Wellington, New Zealand where he worked at Weta Workshop from 2009- 2013. Over that time he contributed to a vast array of Film, Television and Video Game projects such as The Hobbit Trilogy and Elysium, among many others. He is currently working at 343 Industries on Halo Infinite.
His past clients include: NASA, Lexus, Boston Dynamics, Nvidia, 20th Century Fox, Treyarch, 343 Industries, Sledgehammer Games, MPC, Legendary Pictures, Weta Workshop, Magic Leap, LucasFilm, Rhythm & Hues, Activision, EuropaCorp, Universal Pictures, Sony Pictures Animation, Insomniac Games, Microsoft, Design Studio Press, SyFy and Discovery Channel.
When he's not designing, he enjoys traveling and taking photos of dark, dirty, industrial parts of cities as well as other discoveries far off the beaten path.
For more content from Ben Mauro, follow on Instagram, Artstation, Youtube, and visit his official website.


