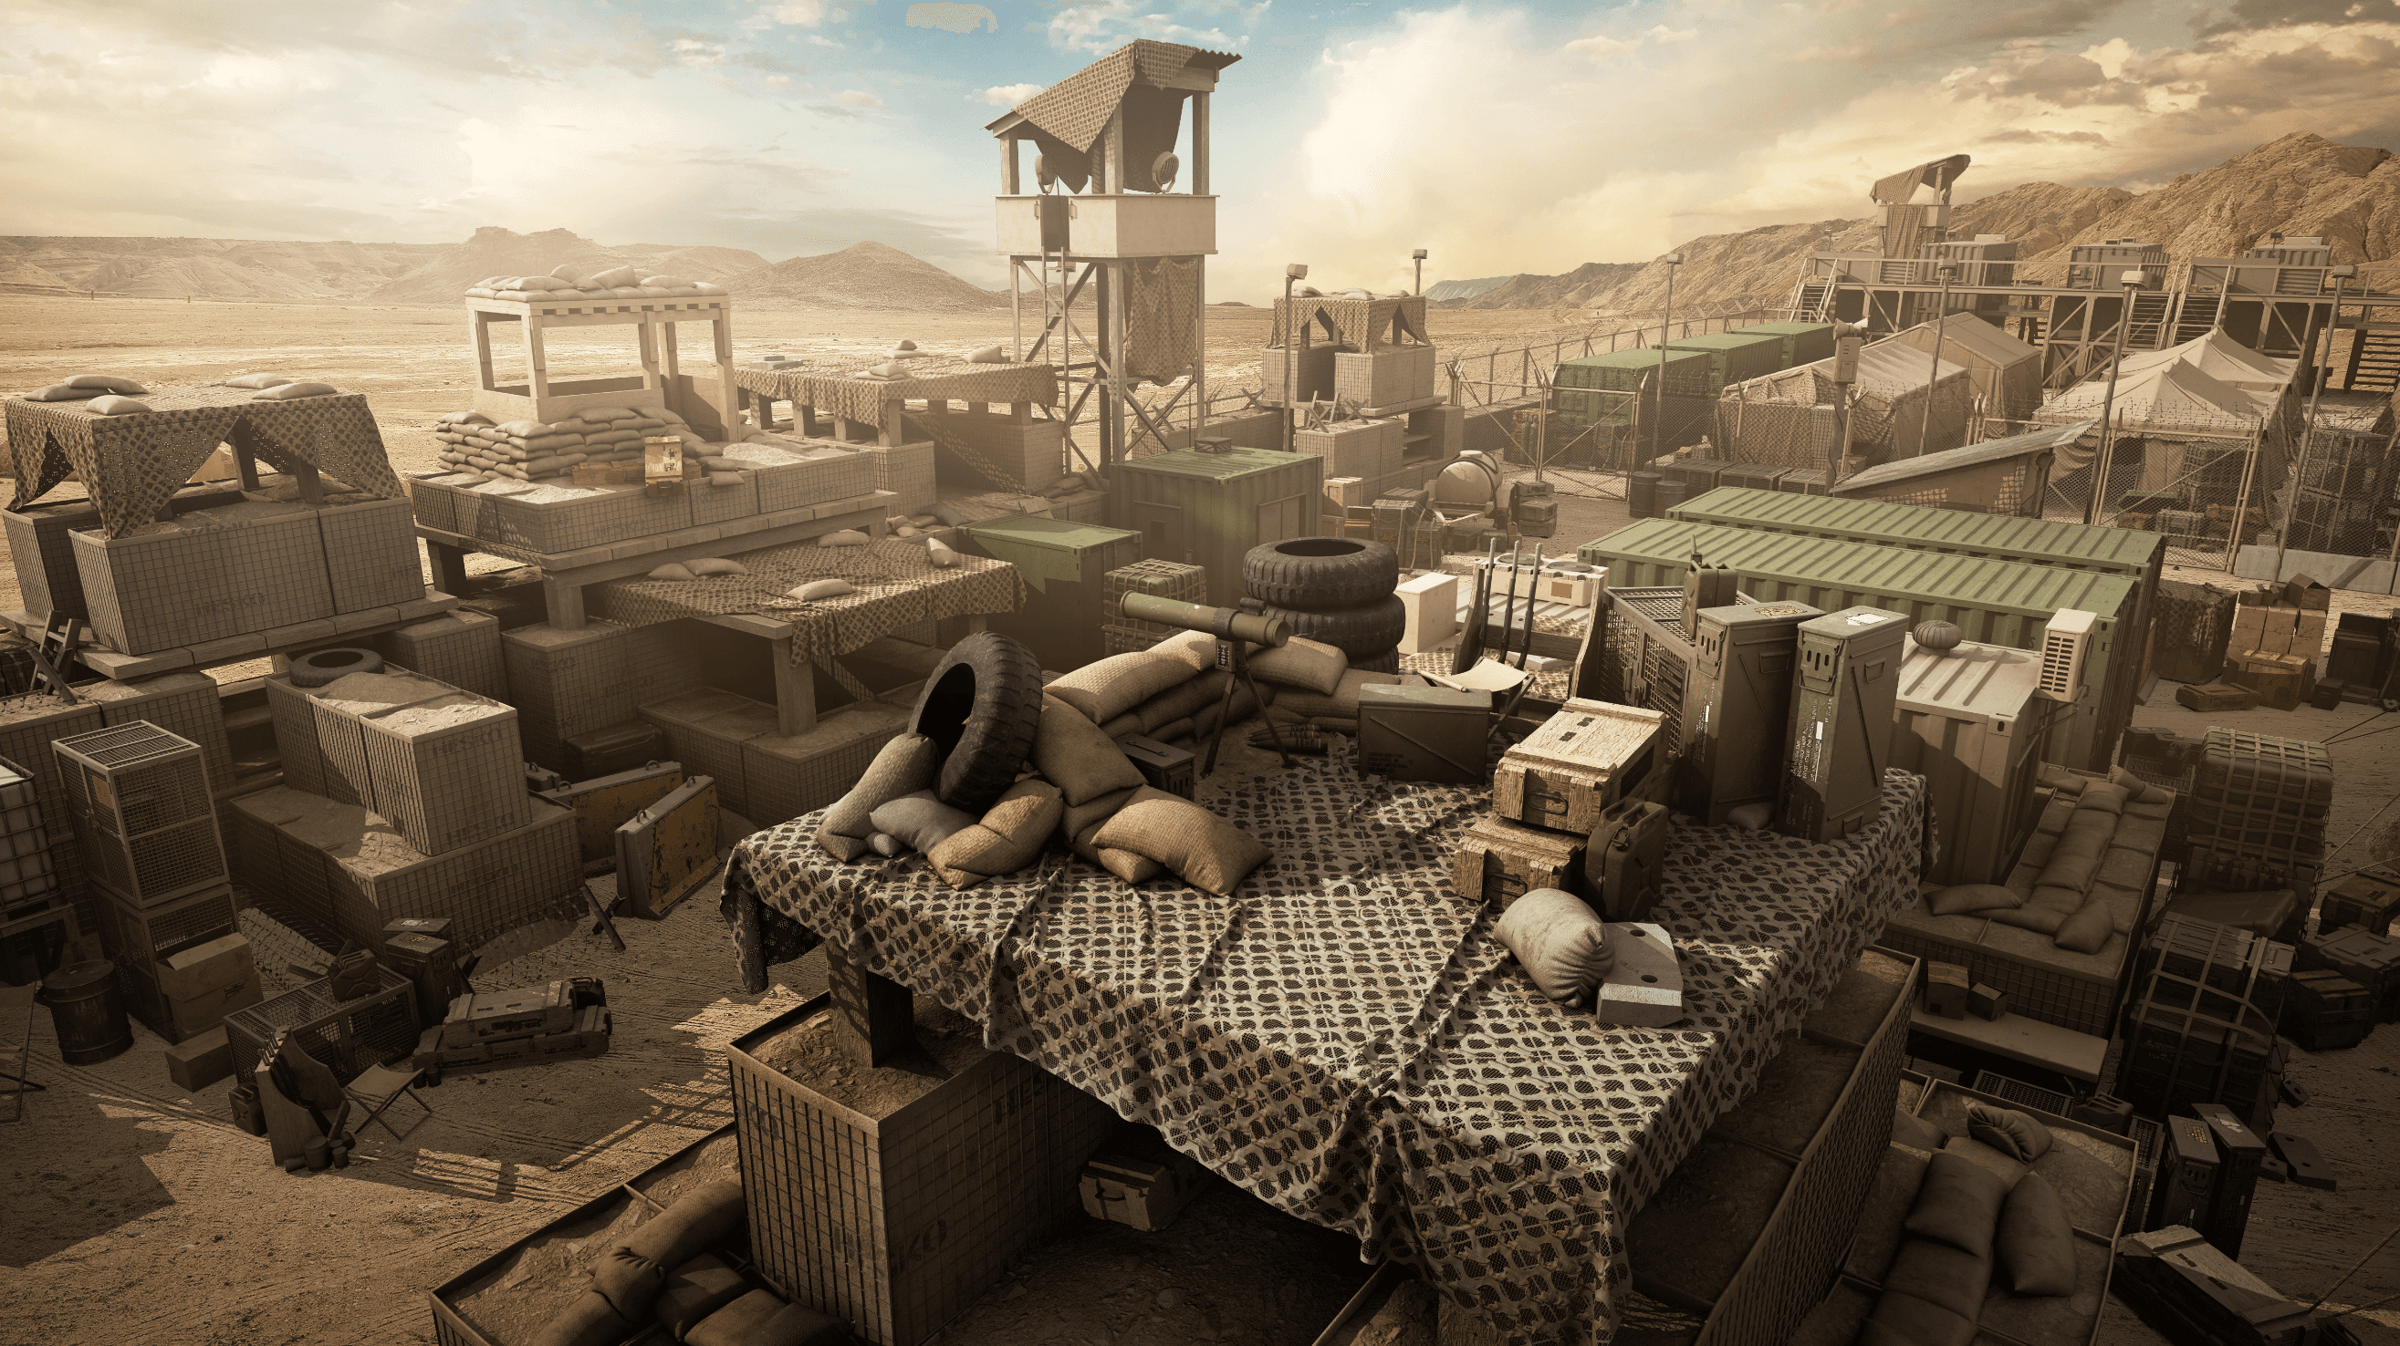
To celebrate the release of our latest world kit, Military Outpost, we wanted to share with you how we brought all the kit's encampments, watchtowers, concrete walls, cargo containers, bunkers, barbed wire fences, weapons, ammo, sandbags, generators, crates and so much more to life! We sat down with Jian Zhi's designs for the kit, Sebastian Bielecki, who modeled, and Alexey HrDesign, who textured, to take you through how we built over 260 pieces and 50 materials for this robust kit! We also end the article with two original pieces from concept artist, Pablo Carpio, using the brand new kit!

Before moving any polygons around in 3D, all designs are finalized in 2D by concept artist Jian Zhi. This is a very important part of the process which helps save time in production and quickly allows us to make edits for the best designs to move forward into the final kit.


Sebastian Bielecki reveals the most challenging part about the modeling process of our most ambitious kit yet! Sebastian, please walk us through a step by step process of modeling the Military Outpost kit.
The most challenging part of the set were tents. They have different shapes, sizes, and consist of many pieces that had to stitch together. They all were made in 3ds Max and Marvelous Designer. Here are some steps that I used to make them. First, I made a block out in Max to get the overall proportions and shapes needed.
 Then I separated those into the garment and created a skeleton underneath.
 The next step was to layout the UVs for the garment. When you do that the most important thing is that all pieces have the same texel density. It is also good to rotate them correctly for easy sewing. If your mesh is welded in the 3d viewport but you separate the UV islands, then after importing into Marvelous Designer they will be automatically sewed. It is not always a perfect sew and sometimes it is faster to sew from scratch.
 I exported garments as Obj file and skeleton as FBX. In Marvelous, I import FBX as an avatar and when importing Obj I check to import it like a garment and check to trace the UV islands as the garment shape. This way the body of my tents is in perfect position over the avatar and ready to sew and simulate. The rest of the details is added in Marvelous, so the basic garment is being cut into pieces, doors and windows are added and final simulation is being performed.
 The last stage is to prepare UVs. For this reason, I’m opening UV editor and arranging UV islands as they are in 2D view, and also packing everything into 0-1 space.
After this, I’m exporting everything as FBX and importing it back to Max. Here I can use the move brush if I want to adjust some parts. In the UV editor, I’m repacking all islands to final texel density 10.24. Additional details are added like ropes, clips, and others to finalize the asset. 
That’s how all the tents were made. It was a bit simpler and faster with the rectangular ones because of their topology and not so many elements have to sew and pinned in order to achieve a good result. The rest of the set was just pure hard surface modeling. After assembling all the assets some of them were exported again as FBX to Marvelous as avatars and camouflage net was simulated on top of them. Because there are over 260 unique models and few of them are tents the set took around 200 hours to complete modeling and UV. The textures took additional time of course.
 Thank you, Sebastian, I'm sure the community will appreciate all the hours spent sewing those tents together. As for the textures we have over 50 of them in this kit all created by Alexey HrDesign in Substance Designer.
 Thank you, Sebastian, I'm sure the community will appreciate all the hours spent sewing those tents together. As for the textures we have over 50 of them in this kit all created by
Alexey, can you walk us through one of the textures from this kit.
The first thing I wanted to pay attention to was the pattern. To start, I'll grab a good reference image and begin to study it, you can see how the camouflage grid is created. The material is a canvas in which the cuts are made, the oval tongues are turned inside out and sewn back onto the grid.
When I start to create it, I had no idea how it was made, I thought it was just ribbons sliced in random order. 
Sometimes to create something you have to try to do it with your own hands in your head, it makes your work more organic and you make fewer mistakes. In this camouflage grid, I have simplified some of the elements, but I have reflected its main feature, it is the curves of the tongues and its oval holes. Also, the main thing was that I tried not to go too far away from the shape and size of these tongues, so as you can see in the animation I tried to derive connections from the original shape of the tongues that I create in the very first step. This allowed me to change the whole pattern with minimal deviations in the position and shape of the wrapped fabric.

Wow, a lot of detail went into those textures. Alexey, thanks for taking us through your process using Substance Designer to create the textures for this kit.
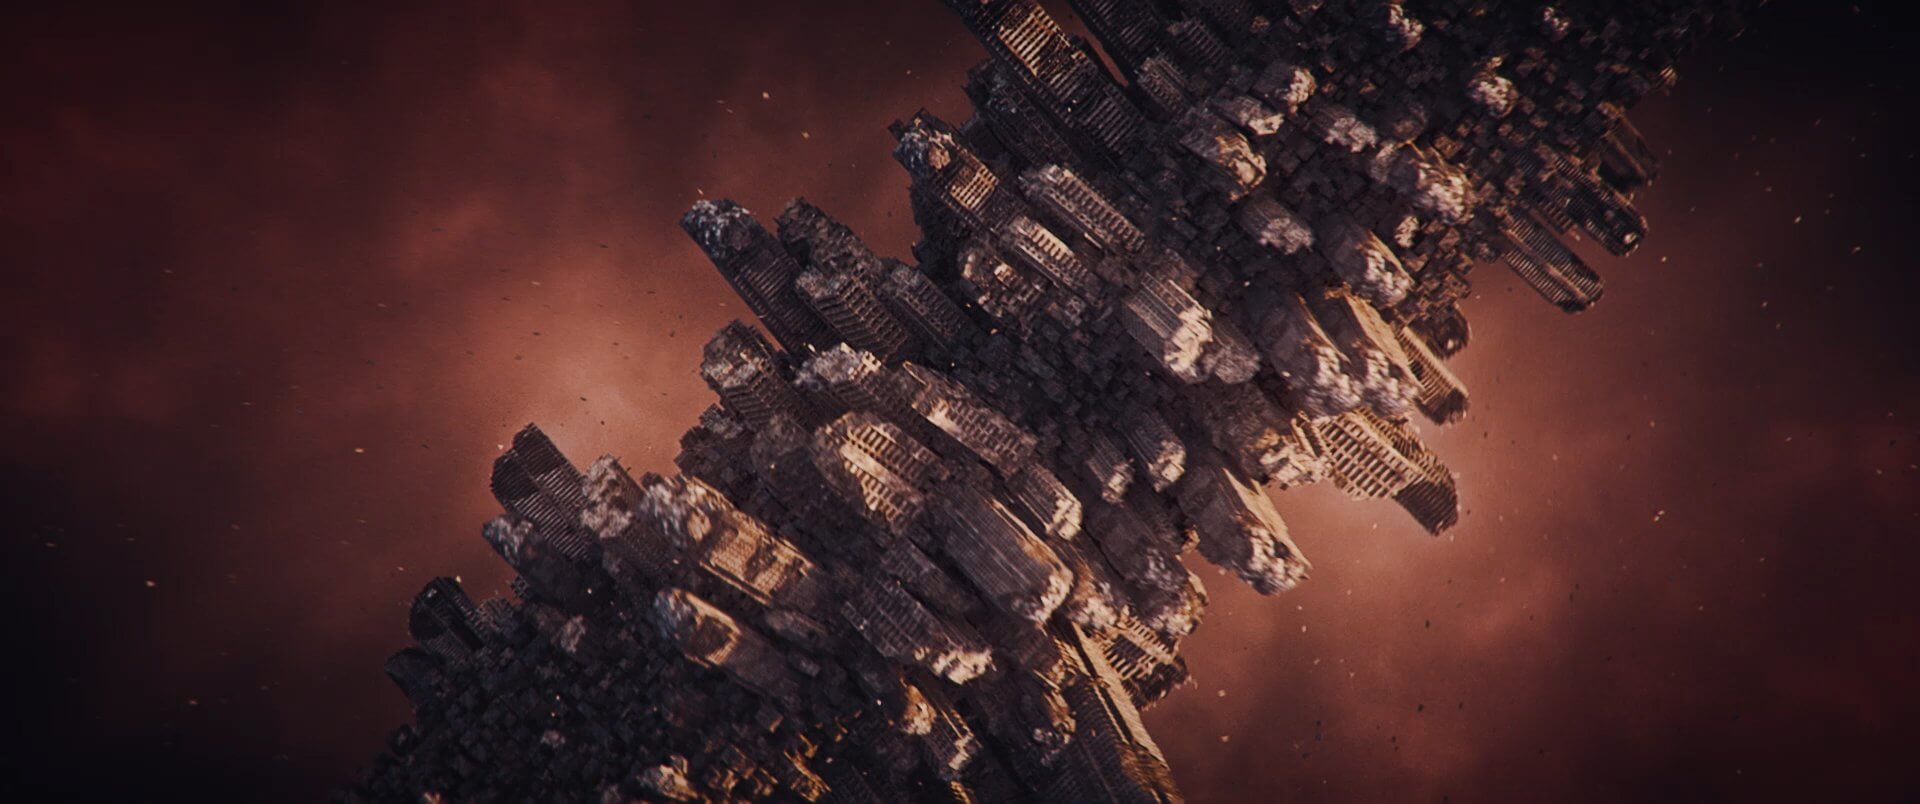
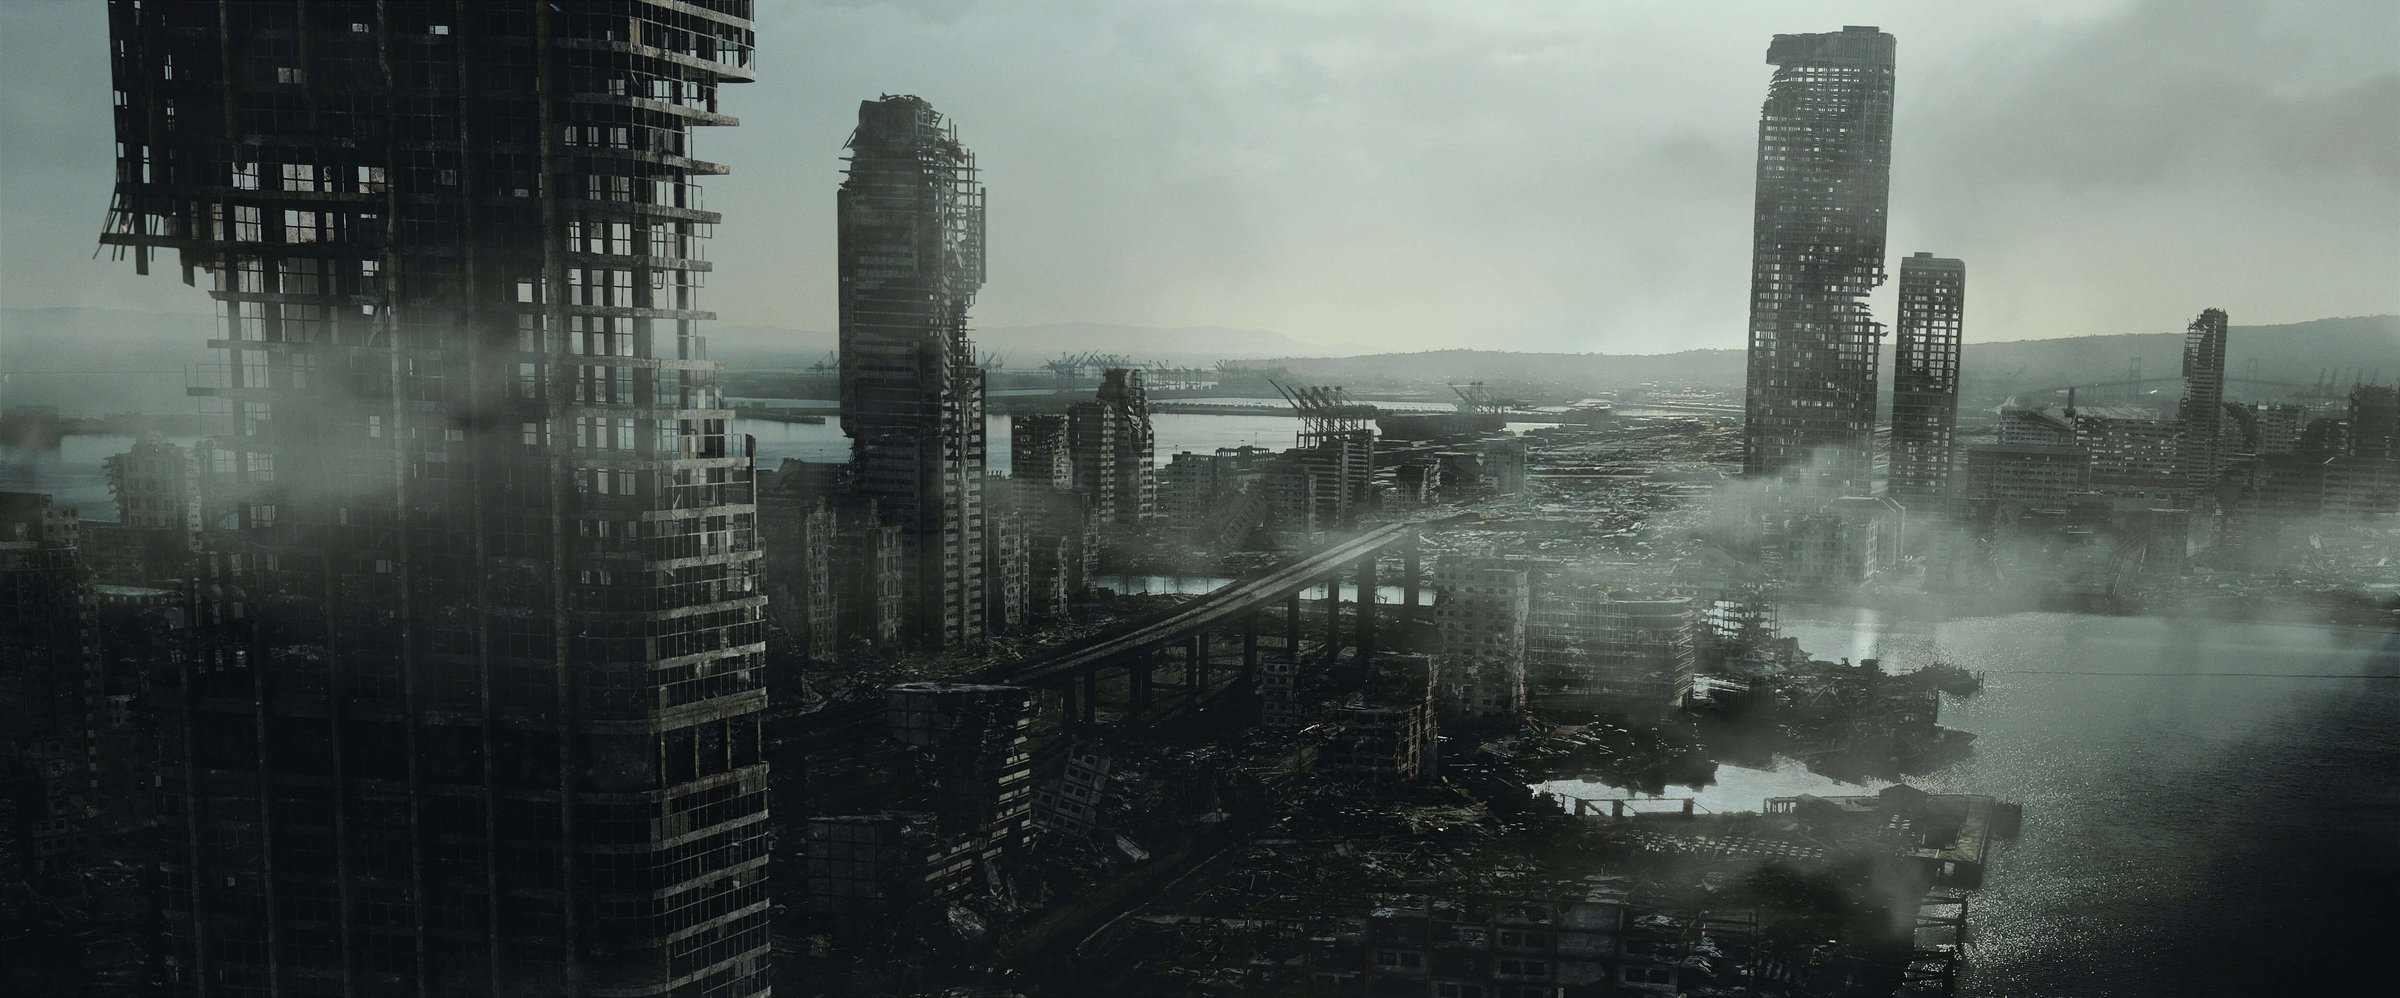
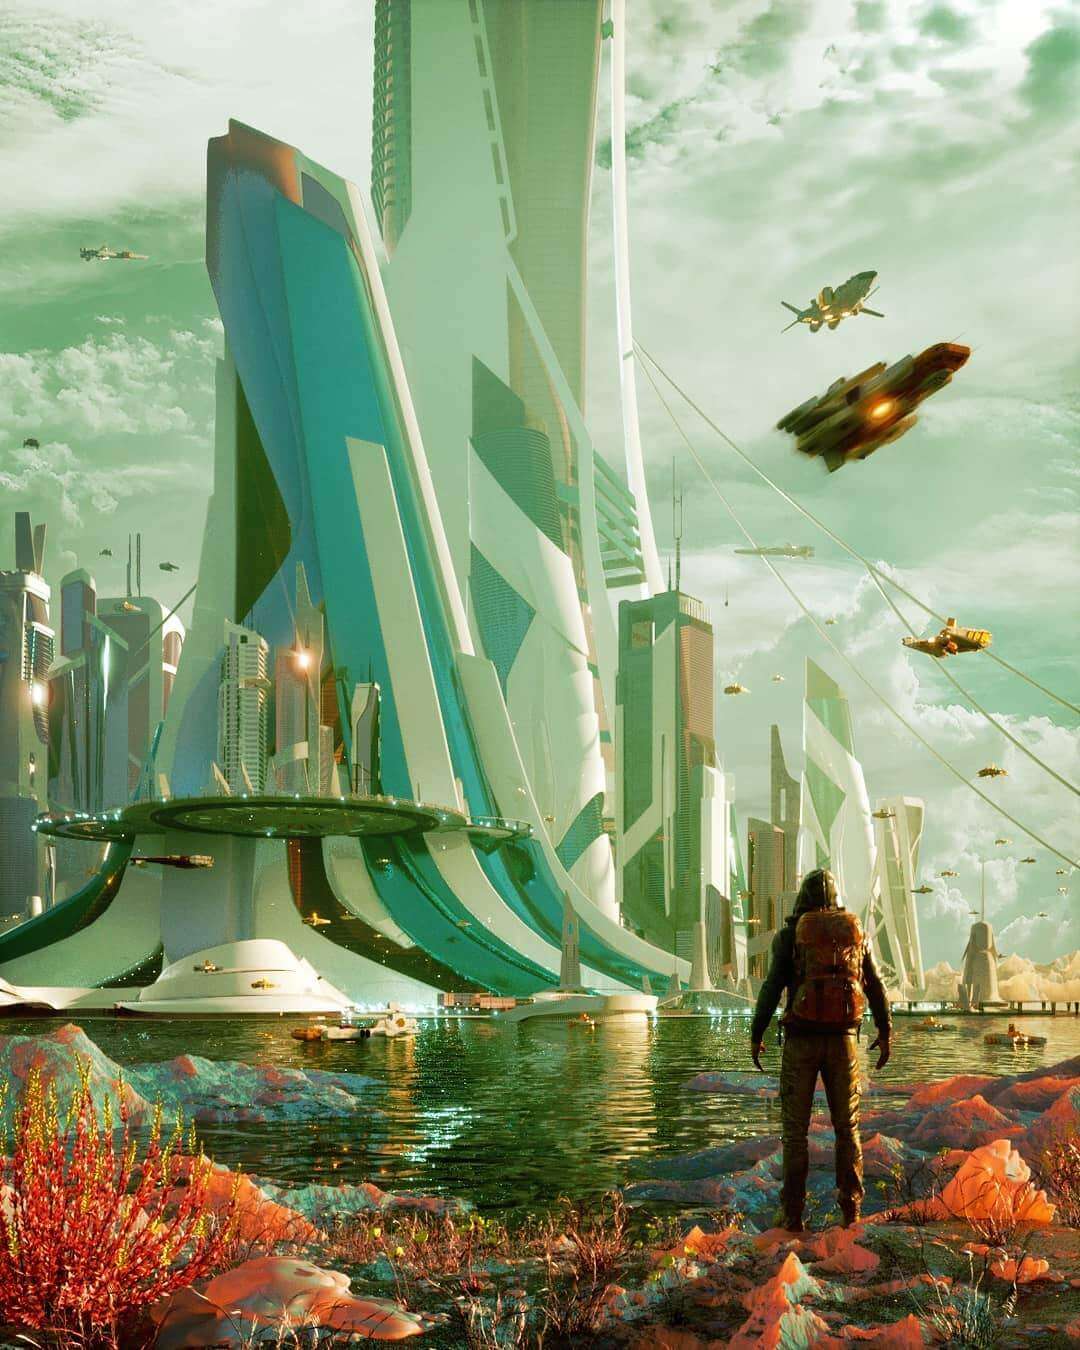
We are super excited about this kit and can't wait to see what everyone creates with it. To end this blog we wanted to leave you with two pieces by concept artist, Pablo Carpio, using Military Outpost.


Check out the Military Outpost kit here to get a closer look!