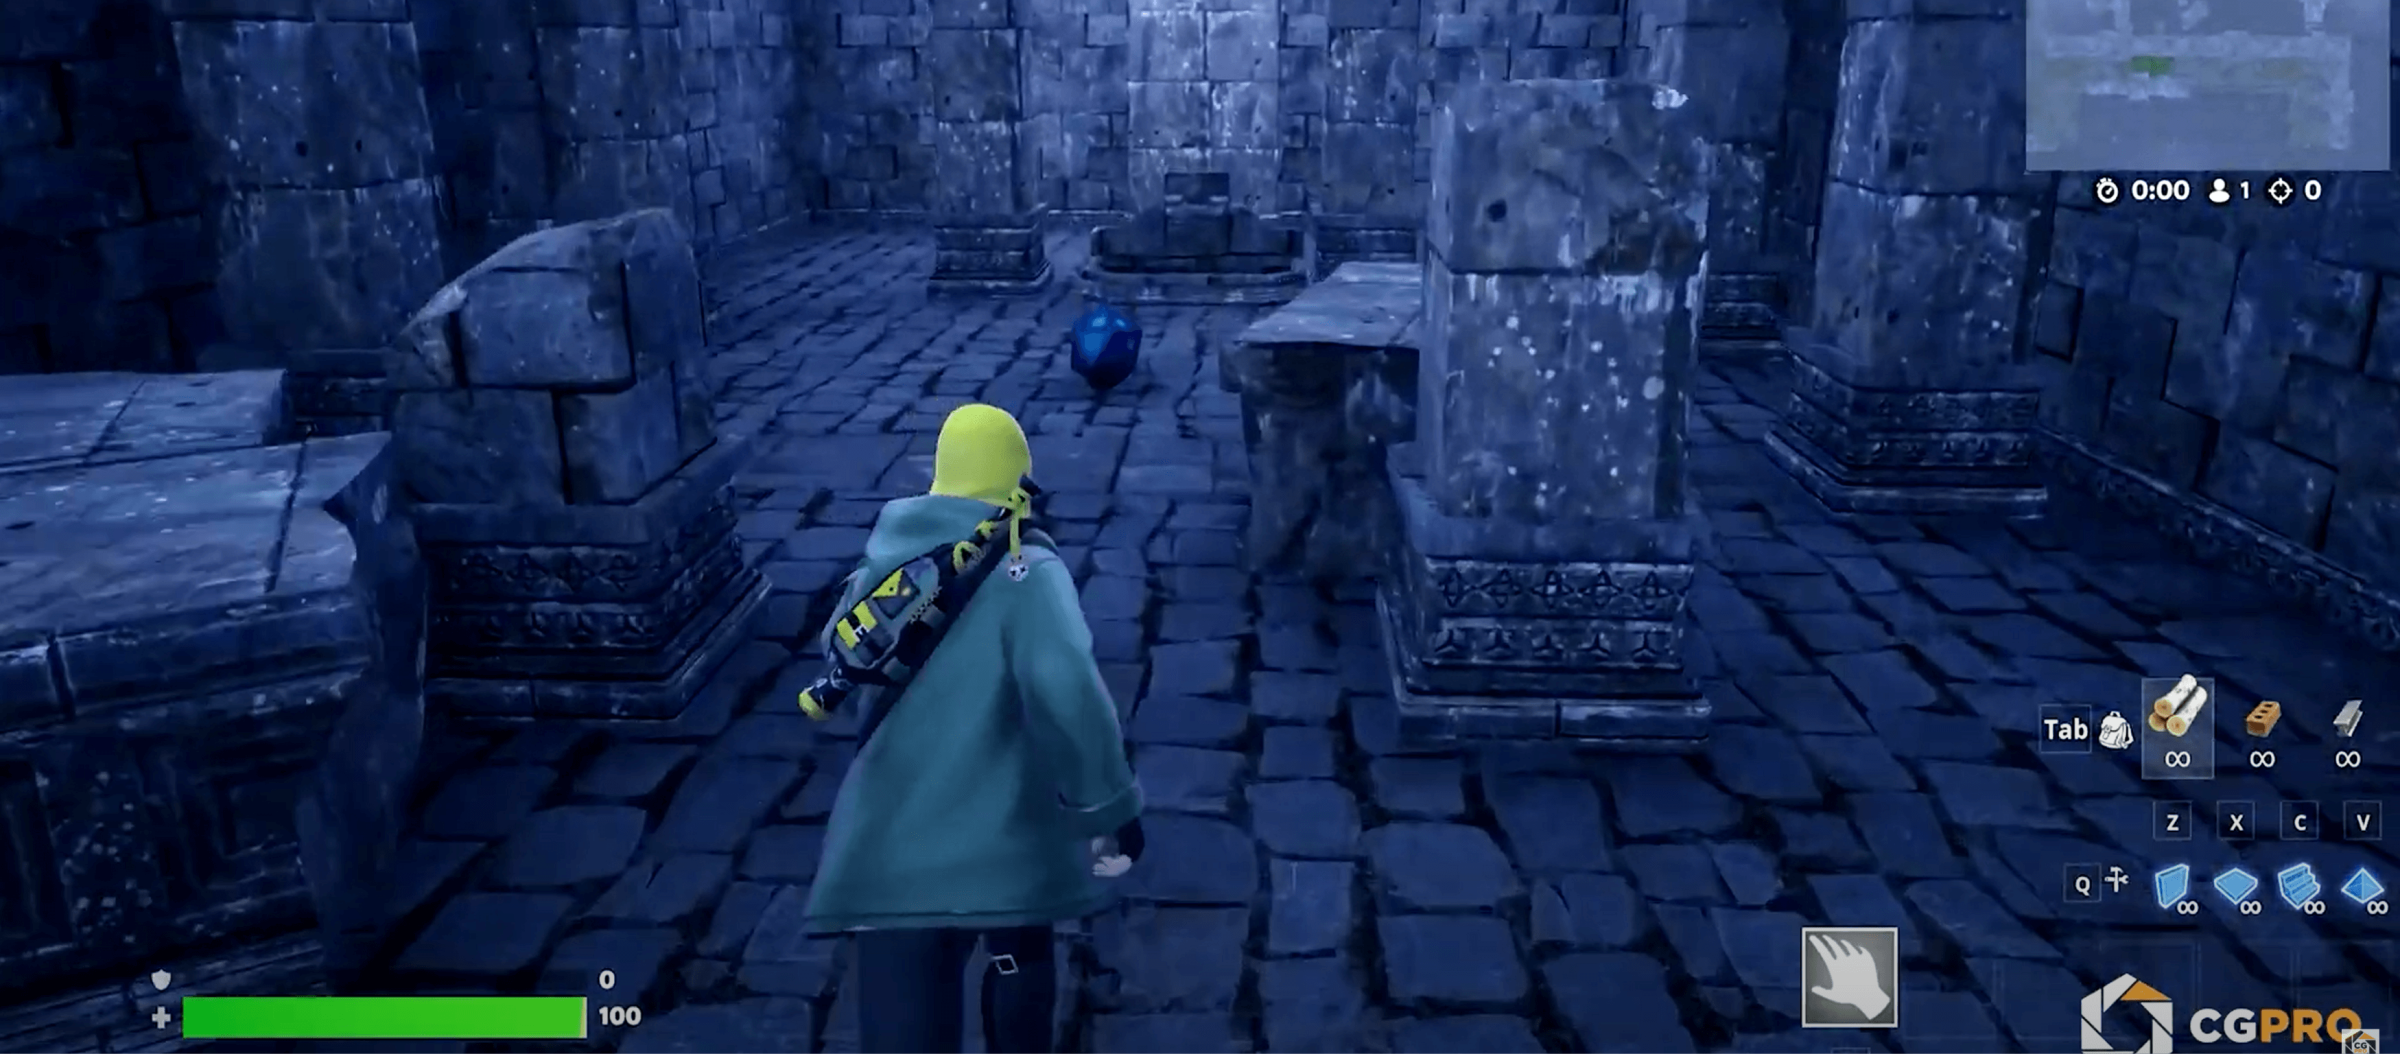
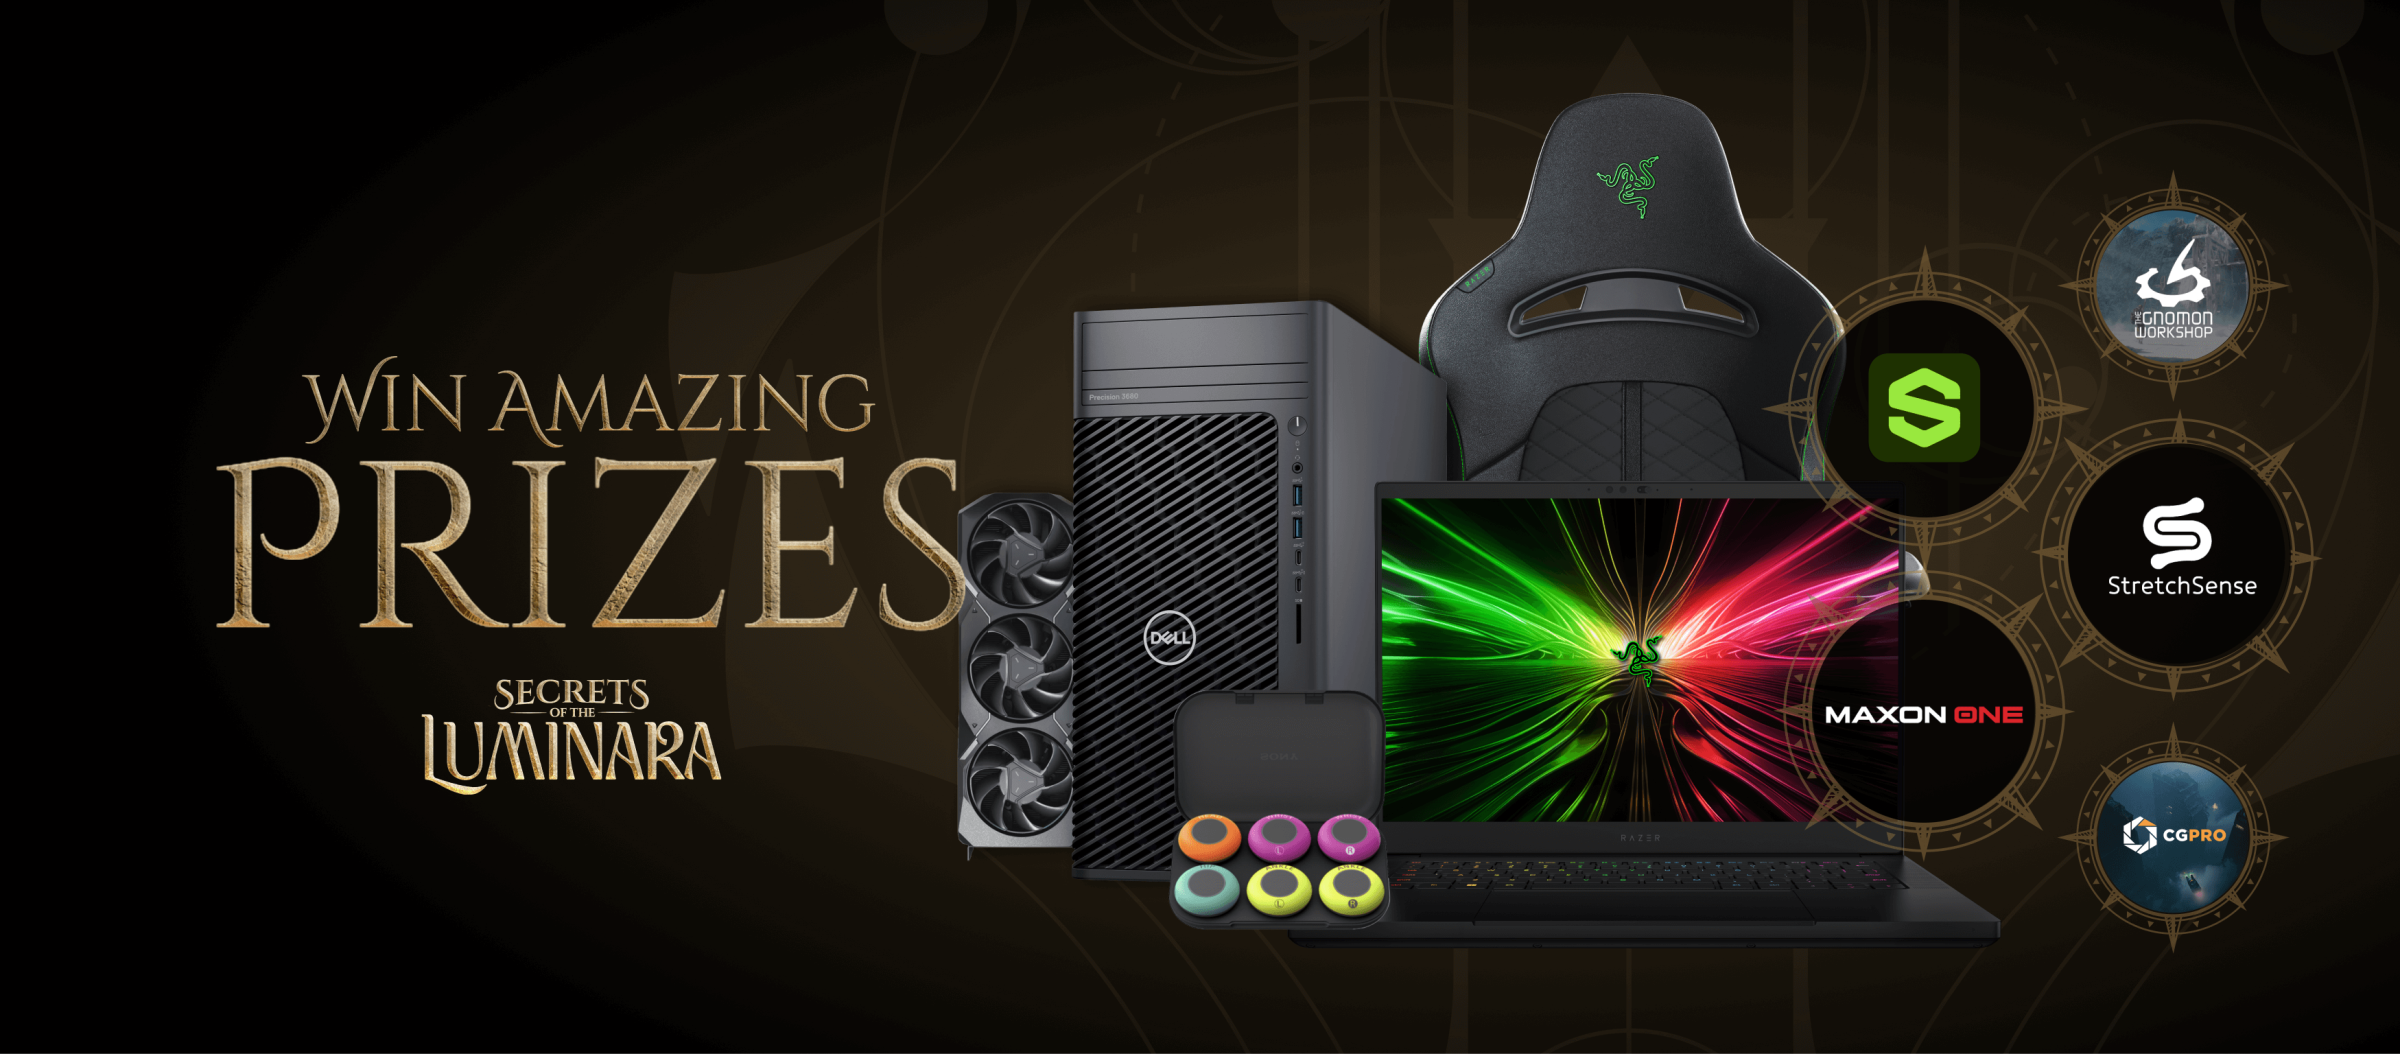
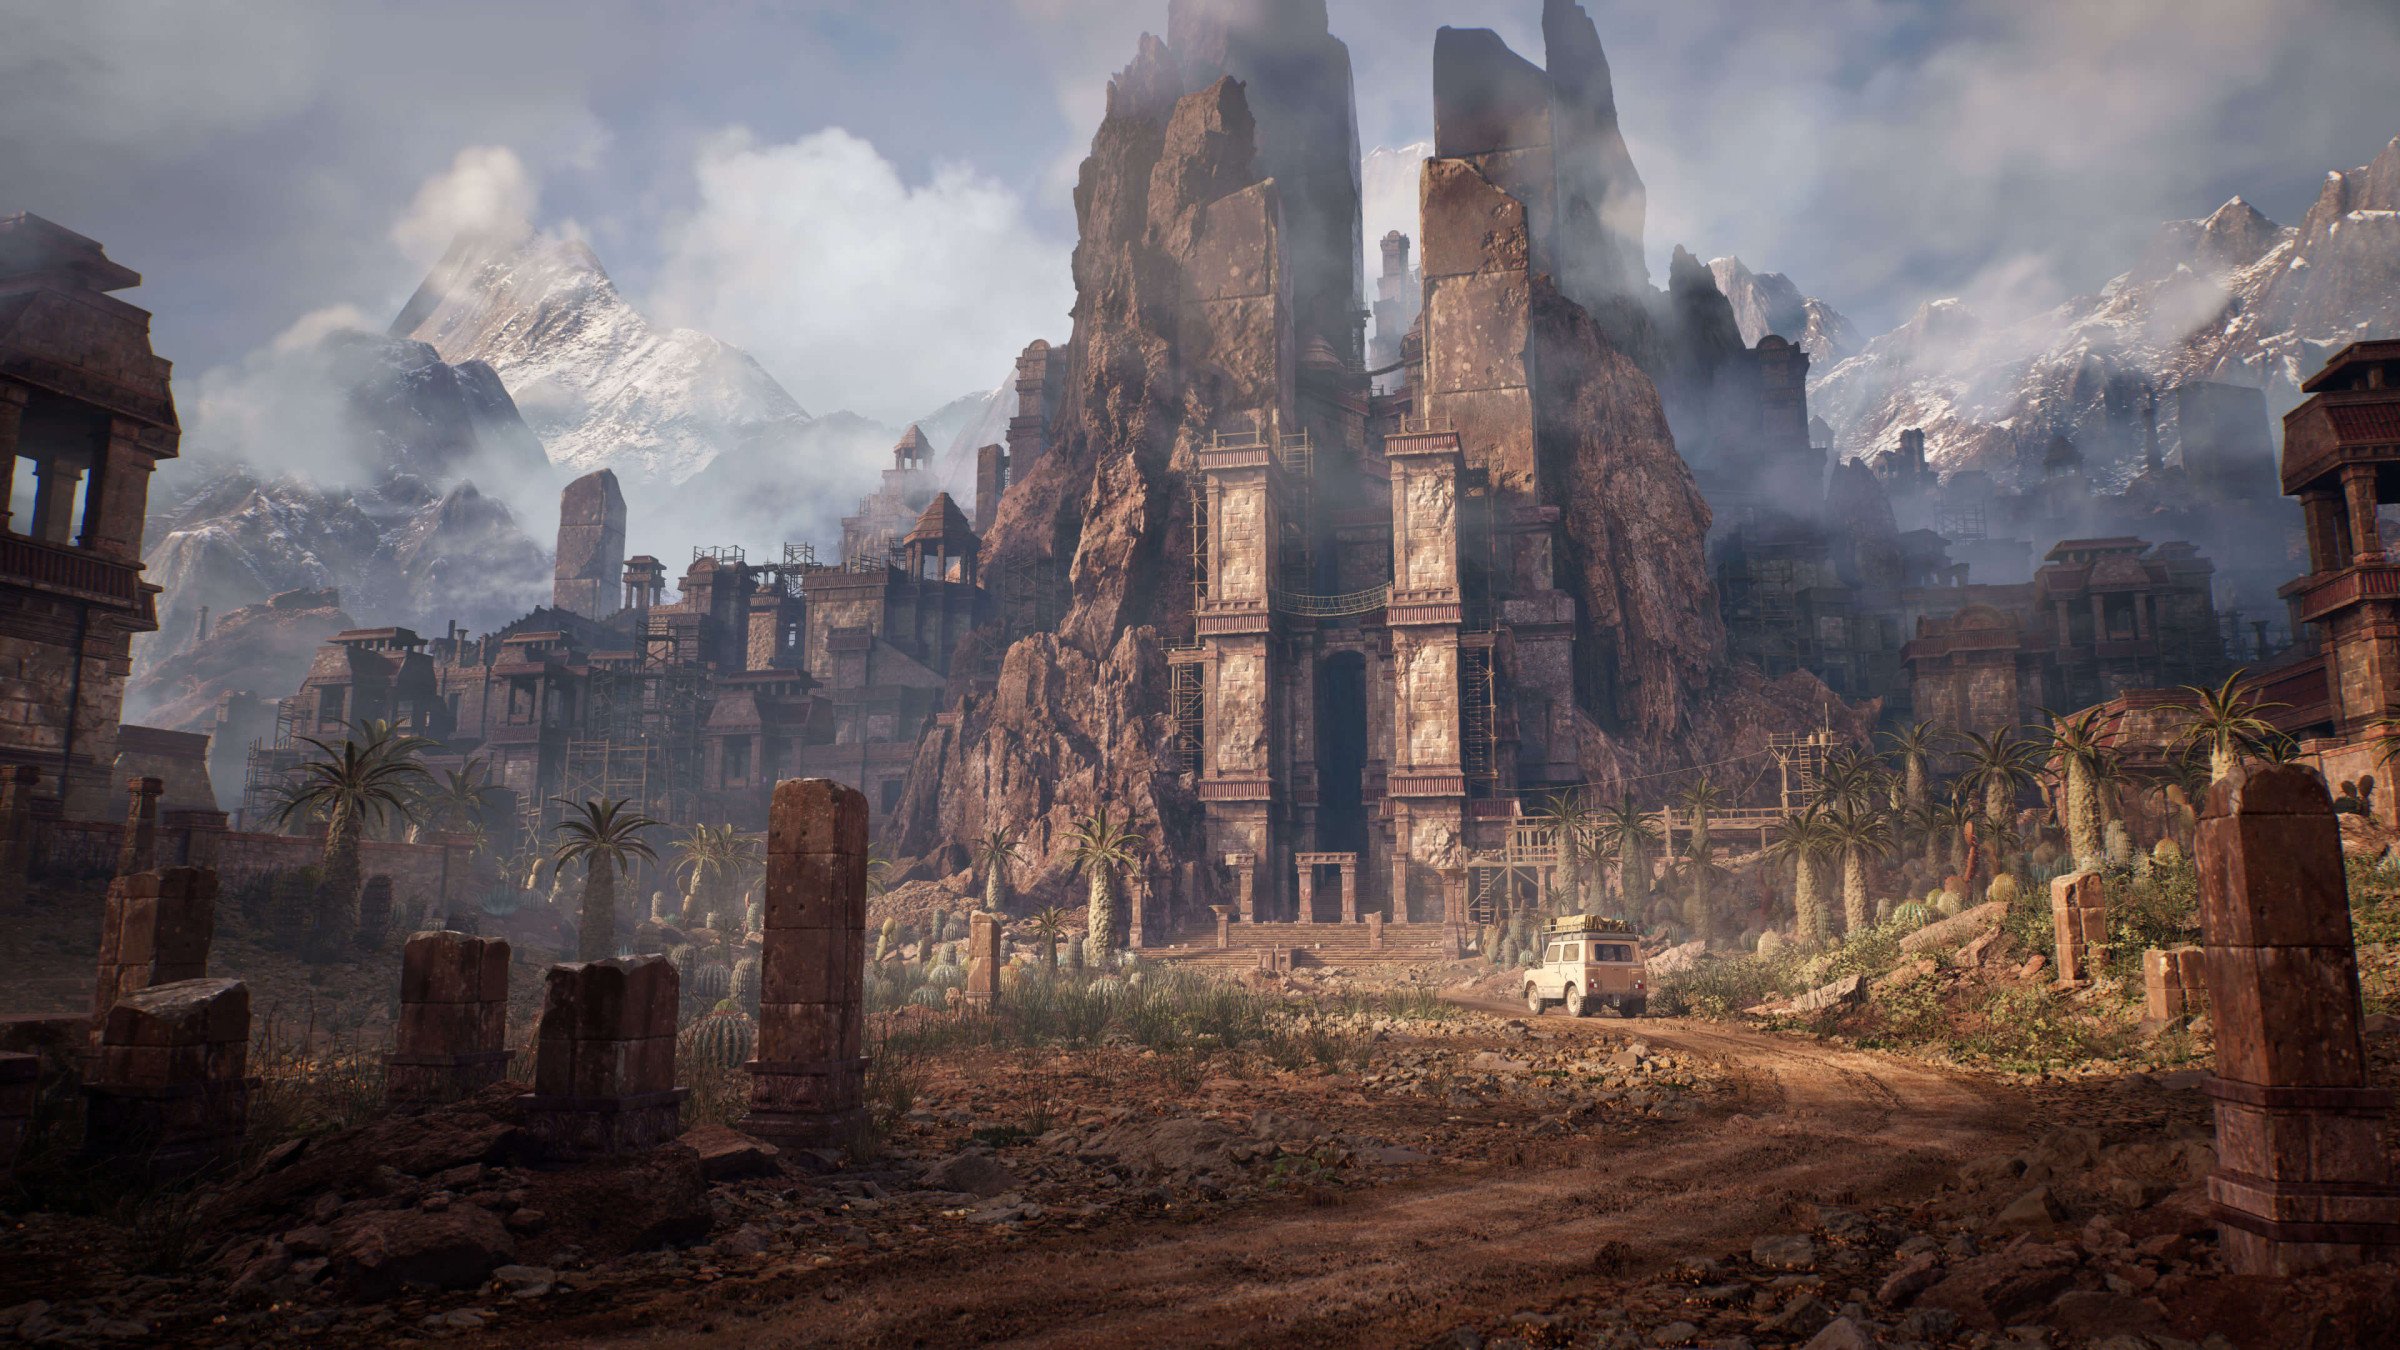
As part of the Secrets of the Luminara Challenge this year, we’ve opened up a new category for Games! In preparation for this we took our Luminara Kit and worked to make it compatible with UEFN for those of you who would like to create a game experience for the Luminara challenge. Below are step-by-step instructions on how to get and open the files to work within UEFN.
Step 1: Download the Project Files
First, you need to get the project files. You can download the UEFN compatible files for Luminara from the Kit's product page.
1. Download the Compressed File: This file will contain all the necessary folders and files for the UEFN project.
2. Extract the Files: Once downloaded, extract the contents to a location on your computer. Make sure to keep track of where you’re storing these files, as you’ll need to access them soon.
Step 2: Opening the Project in UEFN
Now that you have the files ready, let’s open the project in UEFN.
1. Open UEFN: Launch the Unreal Editor for Fortnite application.
2. Click “Browse” in the Open Project Window: In the “Open Project” dialog, click on the “Browse” button to locate the project file you just extracted.
3. Select the .uproject File: Navigate to the folder where you extracted the project files, and select the .uproject file. This file acts as the gateway to the project.
Step 3: Trust the Author Prompt
When you attempt to open the project, UEFN will prompt you to confirm if you trust the author of the project.
1. Click “Accept”: If you trust the source of the project (which you should, if you’ve obtained it directly from kitbash3d.com!), click on “Accept.” If you don’t trust the source, you can decline, but you won’t be able to proceed with the project.
Step 4: Handling Team Association
UEFN will check if you’re part of the Fortnite Creative team associated with the project.
1. Non-Team Members Prompt: Most likely you aren’t a part of the official team (but that’s okay!) UEFN will inform you of this. Don’t worry, this won’t prevent you from using the project for the challenge.
Step 5: Making a Copy in FN’s Revision Control
You’ll now be asked if you’d like to make a copy of the project in FN’s revision control. This is important because UEFN projects need to be connected to source control to be published as Islands.
1. Choose to Make a Copy: Select “Yes” to create a copy. This will integrate the project with Epic’s services, allowing you to modify and build upon it.
Step 6: Finalize the Project Setup
Once the copy is made, your new project is ready!
1. New Project Connection: UEFN will connect the newly copied project into Epic’s services as a new project. From here, you can edit, build, and publish your Island.
Additional Tips & Notes
• Declining the Copy: If you decline to make a copy of the project, you’ll need to delete the project and re-download the files if you change your mind later. The project won’t be valid for source control, which is required for publishing.
• Source Control is Mandatory: Remember, for the project to be published as an Island in Fortnite, it must be connected to source control.
• Benefits of Distributing Your Own Project: Distributing your own project allows for additional customization options like using custom shaders or specific Unreal features that don’t need to be transferred between DCCs using tools like Cargo.
Your journey into the world of Luminara begins now! With this guide, you can forge your own path, share your creations, and inspire others to expand on your vision. We can't wait to see the epic adventures you'll create—be sure to share your Island Code with us! Ready to rise to the Luminara Challenge? Submit your creation via the form linked on our challenge page.


