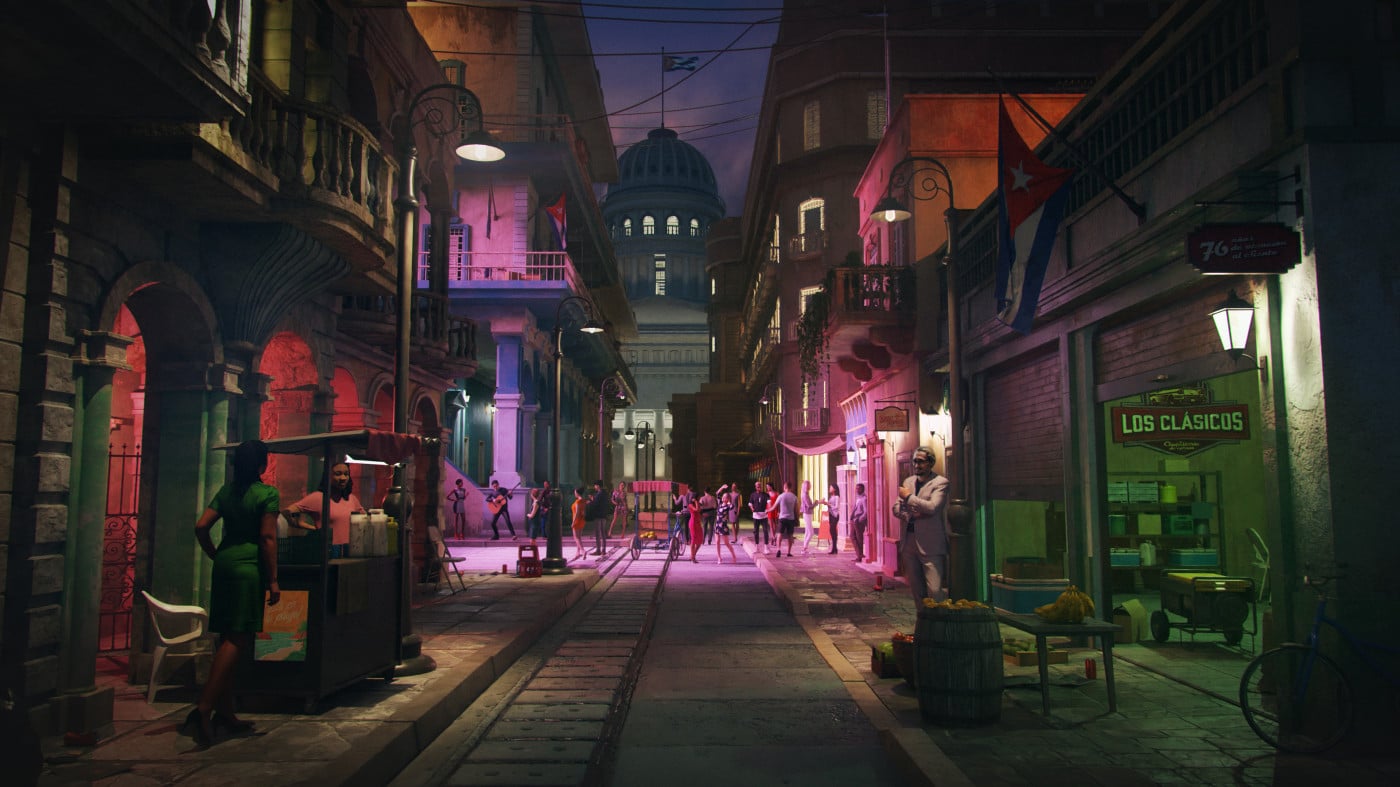
Few elements in visual storytelling hold the transformative power of lighting. A green glow seeping from underneath a darkened closed door might suggest a sci-fi horror, while a strategically placed shadow can turn a nondescript profile into the silhouette of a villain. Using lighting in various ways on a single scene can completely change the mood of your animation, taking it from staid and drab to adventurous, romantic, or frightening–all with the magic of light.
Understand the Basics of Lighting and Mood
Lighting in animation starts with three key components: key light, fill light, and backlight (together referred to as three-point lighting.) The key light is the primary light source, often setting the scene's initial mood. A harsh key light can cast stark shadows, perfect for creating a mood of suspense or drama. Conversely, a softer key light can produce a gentle and inviting atmosphere.
The fill light works with the key light, mitigating shadow intensity and affecting the scene’s emotional tone. A dim fill light adds mystery and depth, while a brighter one can create a more open and honest space.
The backlight adds depth and separation, critical in scenes conveying isolation or highlighting a character’s prominence. It subtly outlines the subject, detaching it from the background, a technique often used to focus the viewer’s attention.
Get Creative with Environmental Lighting
Three-point lighting is a basic bread-and-butter way to light a scene, but to tell a great story, it may not always be the best choice. Environmental lighting plays a pivotal role in setting a scene's overall tone and mood. Integrating specific light sources within the scene enhances context and narrative, bridging the gap between realism and artistic expression.
In his video “10 Lighting Setups for Your Animated Shots,” animator and educator Sir Wade Neistadt tries different environmental lighting scenarios in Blender, Maya, and Unreal Engine to alter the moods of three scenes. Instead of relying solely on three-point lighting, he uses directional and area lights that would appear naturally in a scene to change the story’s emotion.
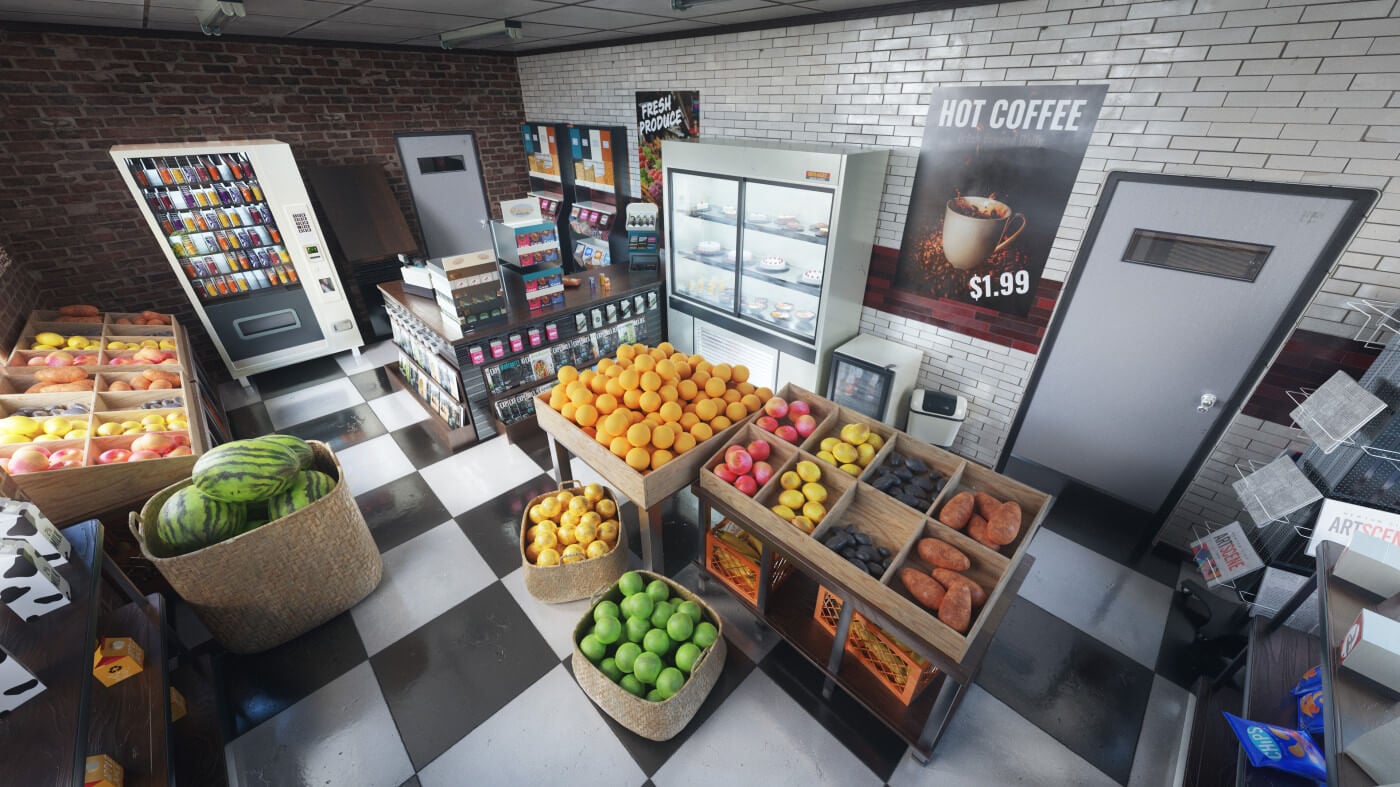
The first scenario depicts a grandfatherly character in a retail shop. Neistadt builds a scene using the Neighborhood Shops Kit to quickly create a sense of place. Then he lights the character in three different ways: 1) Adding fluorescent area lighting from the top brings out more details from the environment; 2) Creating highlights from the side adds intimacy and warmth; 3) Lighting from the far side separates the character from the environment and emphasizes his importance in the story.
In this diner scene, Neistadt adds flat overhead lights to create a drab, one-dimensional feel. Contrast this with his later use of a neon yellow light and reflections off the table in the same scene to make the story feel dynamic and vibrant.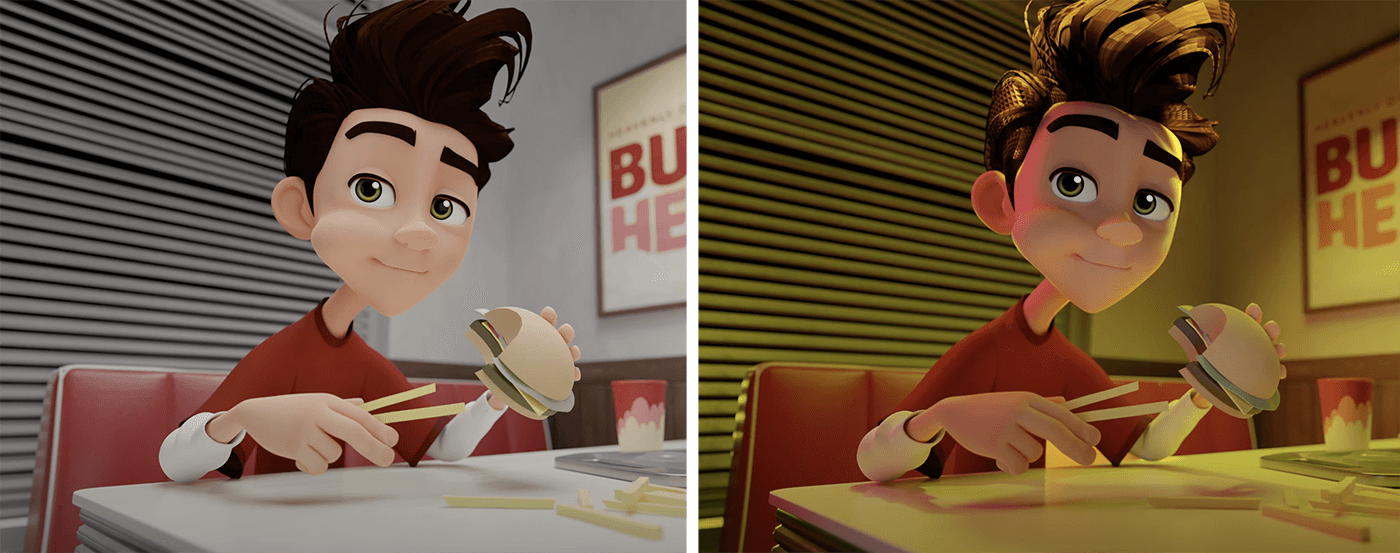
If you want to take this a step further, you can experiment with image-based lighting (IBL), which uses HDR images as references to add more realistic reflections, especially to your outdoor scenes. To do this in Maya with the Arnold renderer, you’ll need to use the Arnold Skydome light. With the Cycles rendering engine in Blender, you’ll want to use Environment Texture under the World settings. And in Unreal Engine, you’ll need to use the DMX Pixel Mapper.
Use the Right Color Temperature for Your Story
You already know that color greatly impacts a scene’s emotion. There’s a reason we say things like, “I’m feeling blue” or “I’m seeing red!” and why horror films are color-graded differently than rom-coms. Psychologically, color has meaning, and we can use lighting temperature to influence the mood of a scene. Warm lighting often evokes feelings of nostalgia, romance, or comfort. In contrast, cool lighting suggests a clinical, tense, or sad atmosphere.
Similarly, changing the time of day in a scene can significantly alter its emotional impact. The time of day not only affects the quality and angle of light but also the color temperature, which influences the mood and tone of your animation.
With its soft, diffused quality and warm golden hues, morning light can instill a sense of hope, renewal, or a fresh start. Midday light produces stark, intense light with cooler tones, ideal for scenes requiring clarity or high energy. As the sun sets, evening light becomes warmer with softer, longer shadows, perfect for intimate scenes, reflecting on past events, or bringing a sense of closure.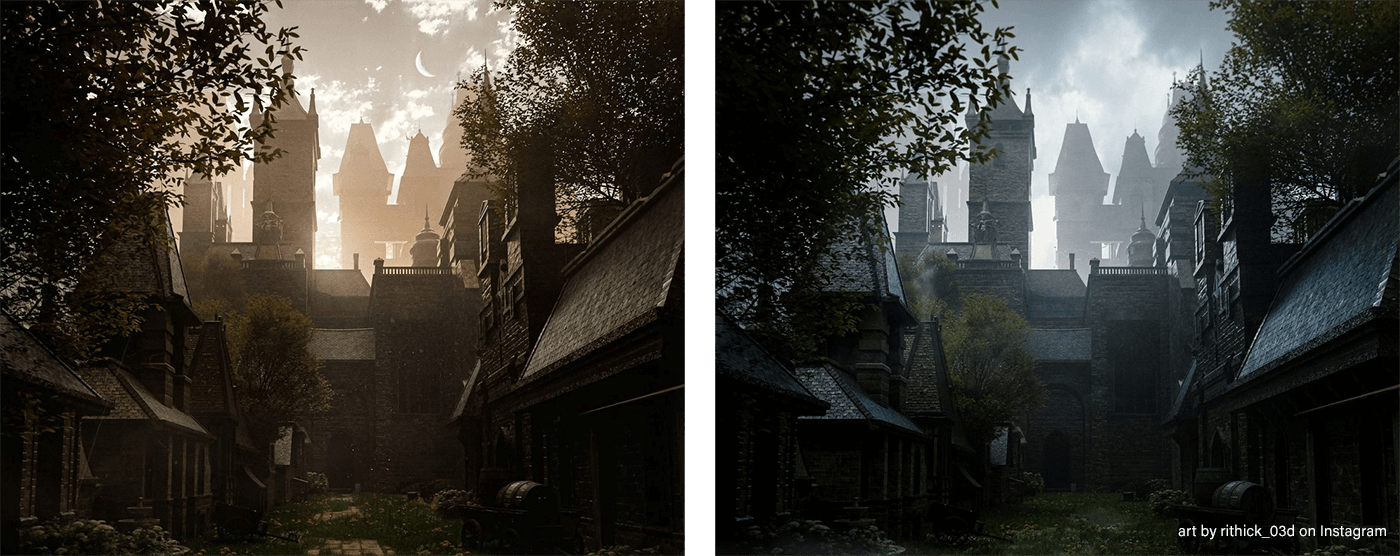
Harness Darkness and Shadows to Convey Mood and Drama
Negative space in lighting is a nuanced yet powerful concept that goes beyond the mere absence of light. It's about strategically using darkness and shadow to shape the mood, direct attention, and add depth to a scene. This technique can be especially effective in scenes where subtlety and suggestion are more impactful than explicit detail. What the audience doesn’t know can be more powerful than what they do.
For example, a character partially obscured in shadow can evoke mystery, allowing the audience’s imagination to fill in the gaps. Skillful use of shadows can foreshadow events, add poetic symbolism, or reveal hidden character traits, adding depth to the story. 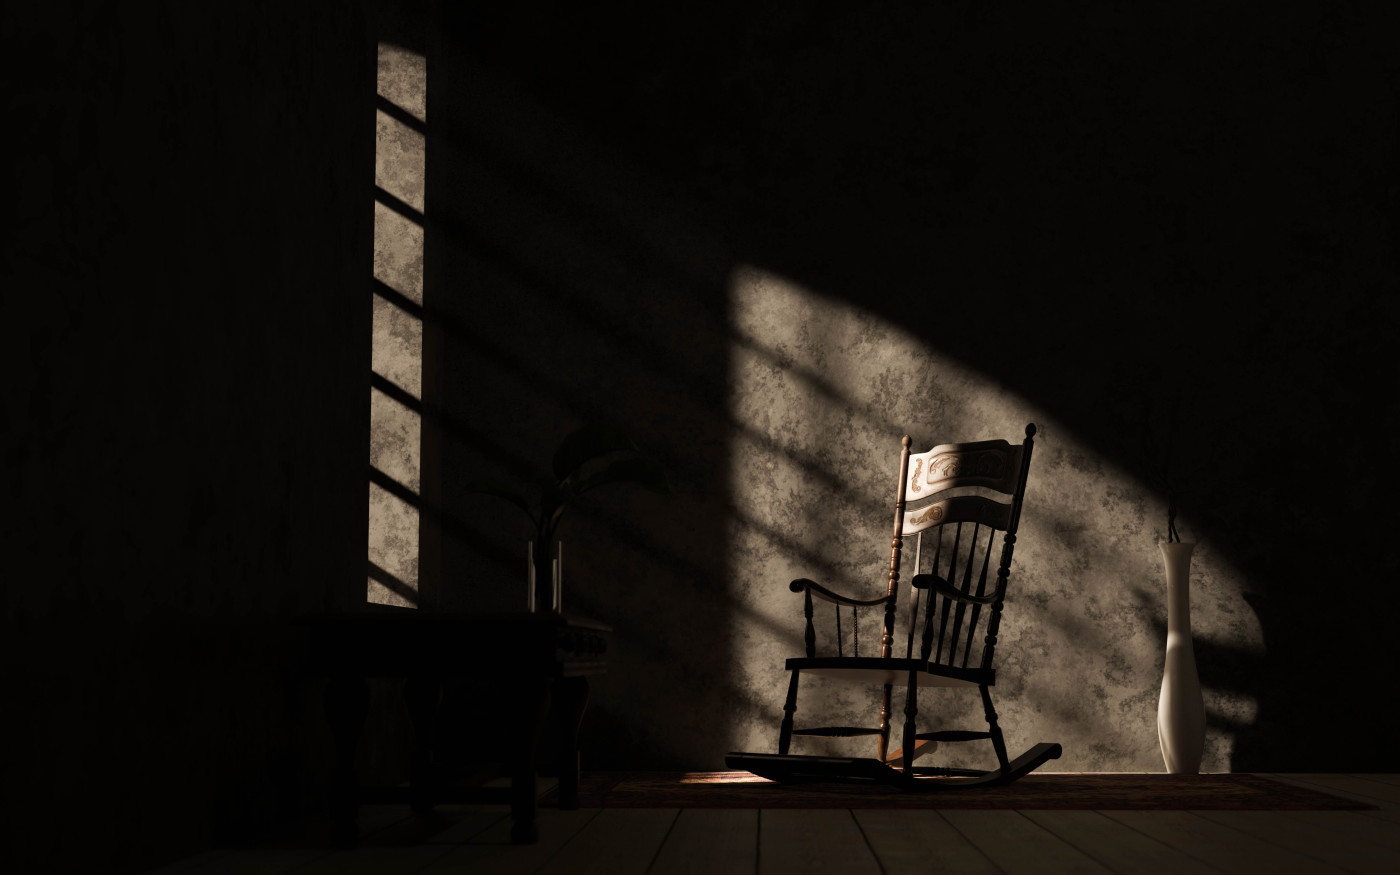 But not all shadows are created equal. Hard shadows and high contrast create tension and unease, ideal for suspenseful or threatening scenes. On the other hand, soft shadows and low contrast suggest contemplation or calmness, perfect for more reflective moments.
Master Performance Optimization
A scene's final mood and aesthetic are often honed in post-processing while ensuring the artistic vision aligns with acceptable technical performance. Software like Blender, Maya, and Unreal Engine offer robust tools for refining emotional impact through post-processing and optimizing lighting for efficient rendering.
In Blender, techniques like baking lighting into textures for static scenes can drastically reduce render times while maintaining visual quality. This is especially useful in scenes where the lighting environment doesn't change, allowing for complex lighting setups to be pre-calculated and stored.
In Maya, you can use light linking to limit which objects are affected by specific lights and optimize render times. Additionally, adjusting the quality settings of shadows and reflections can help balance visual fidelity with rendering efficiency.
Lighting in 3D animation is a powerful storytelling tool that shapes a narrative, sets a mood, and enhances emotional depth. We’d love to see what you create as you explore different lighting setups. Be sure to share your work on Instagram or ArtStation and tag us so the whole community can cheer you on.
And if you’re just getting started in 3D animation, check out our Tutorials playlist on YouTube and jump in.