So, you’ve downloaded Maya for the first time and are excited to start designing. But when you open the software, it looks complicated, and now you’re starting to panic that you shouldn’t have tried Maya 3D modeling without taking a three-month course. Don’t worry, and don’t regret your purchase because we’re here to help. Maya 3D appears complex, but it’s an easier digital content creation (DCC) platform than face-value. In this article, we’ll cover the step-by-step basics of making a model in Maya 3D.
Take a breath, open up your browser, and let’s go.
Here are the steps.
Step 1: Get your setup right.
Step 2: Import models into Maya.
Step 3: Create a polygon primitive.
Step 4: Model an object.
Step 5: Create polygons.
Step 6: Final touches.
An overview of Maya 3D.
As a refresher before you start 3D modeling, here’s what Maya 3D is all about.
Maya is a 3D computer graphics software that is widely used in the film, television, and video game industries. It offers a powerful and flexible set of tools for modeling, texturing, lighting, rigging, animating, and rendering 3D objects and scenes.
Here’s what Maya specializes in:
- Lifelike character animation and realistic special effects
- Easy bundling and integration between other Autodesk products like 3ds Max, AutoCAD, and Fusion
- It supports various file formats, including FBX, OBJ, and Alembic, and is compatible with various operating systems
Maya 3D Modeling in 6 Steps
For this example, we’ll create a polygonal model, which uses polygons to create 3D models. This type of modeling is most common for animation, video games, and visual effects projects.
Step 1: Get your setup right.
Before you start Maya 3D modeling, let’s get you set up correctly for a polygonal model.
- Open Preferences by going to Window > Settings/Preferences > Preferences. In the Preferences window, select Polygons from the Categories section
- Adjust the following settings in the Polygons Display section:
Turn Highlight: Border Edges to On.
Set Edge Width to 4.
- Go to Selection in the Categories section
- Set Select faces to “Whole face”
- Click Save to apply and close the Preferences window
Turn off Interactive Creation for primitives by unchecking Create > Polygon Primitives > Interactive Creation.
Step 2: Import models into Maya.

With Maya, you can import a 2D model into an image plane to model your 3D object.
Here’s how to do it:
- Click the Four View shortcut in the Toolbox to see your scene from different angles: top, front, side, and perspective
- In the Front view panel menu, choose View > Image Plane > Import Image
- Browse and select the file from the folder in your Maya project directory and click Open
- Your image will now show up in the front view
- In the Side view panel menu, choose View > Image Plane > Import Image
- Browse, select the file, and click Open
- The image will now appear in the side view
Step 3: Create a polygon primitive.
A primitive is an object that starts a 3D mesh and is typically required for Maya 3D modeling.
Start a polygon primitive by selecting Create > Polygon Primitives.
There are 12 different primitives:
- Sphere
- Cube
- Cylinder
- Cone
- Plane
- Torus
- Prism
- Pyramid
- Pipe
- Helix
- Soccer ball
- Platonic solids
You can also smooth a polygon by selecting Mesh > Smooth and manipulating the divisions. Although the polygons still have four sides, their positions have been modified. Smoothing allows the primitive to match an imported 2D model.
Pro Tip: Model in shaded mode by selecting Shading > Wireframe on Shaded.
Step 4: Model an object.

By manipulating the primitive around your 2D image, you can easily 3D model the object.
Here are a six commands to help you model more efficiently:
1. Use the object's symmetry to save time by modeling only half of the model and copying it across the axis.
2. In the toolbox, click the Paint Selection Tool to delete faces that are not needed in the final model.
3. Edge loops are the edges above and below the X-axis. To align the edges in a design, right-click the mesh and select Edge, where you’ll get multiple options such as “snape to grids” that will align your edge loops. If you use this function, remember to uncheck “Retain component spacing in the “Move Snap Settings.”
4. Manipulate vertices of your model in the Toolbox by clicking “Move Tool.”
5. Combine edges by selecting an object, clicking “Shift,” selecting the other mesh, and selecting Mesh > Combine.
6. Remember, you can model in “perspective view” and “orthographic view” by View > Camera Setting or Alt + P.
Step 5: Create polygons.

At some point, you’ll need to draw a polygon to execute Maya 3D modeling.
To create a new polygon, you’ll need to:
- Select Mesh > Create Polygon Tool
- Set the number of points on the polygon
- Press the “Q Key” to create your new polygon
Add new polygons to a current mesh by selecting Edit Mesh > Append to Polygon Tool. Click on the edge of the new polygon and the mesh you want to add to click all the necessary borders, and hit the “Q” key when finished.
Pro Tip: Create polygons from existing polygons by selecting Edit Mesh > Extrude and split polygons by selecting Edit Mesh > Interactive Split Tool.
Step 6: Final touches.
Before you finish your project, delete your construction history by selecting Edit > Delete History. Otherwise, history nodes will be rendered with your project and visible on the file. This step is only necessary if you use a model as an instructional tool or education assignment.
Next, smooth your image by selecting Mesh > Smooth. You can also crease or harden your edges by selecting Display > Polygons > Soft/Hard Edges.
Keep modeling in Maya 3D.
Now that you know the basics of Maya 3D Modeling, it’s time to go deeper and start building a new project.
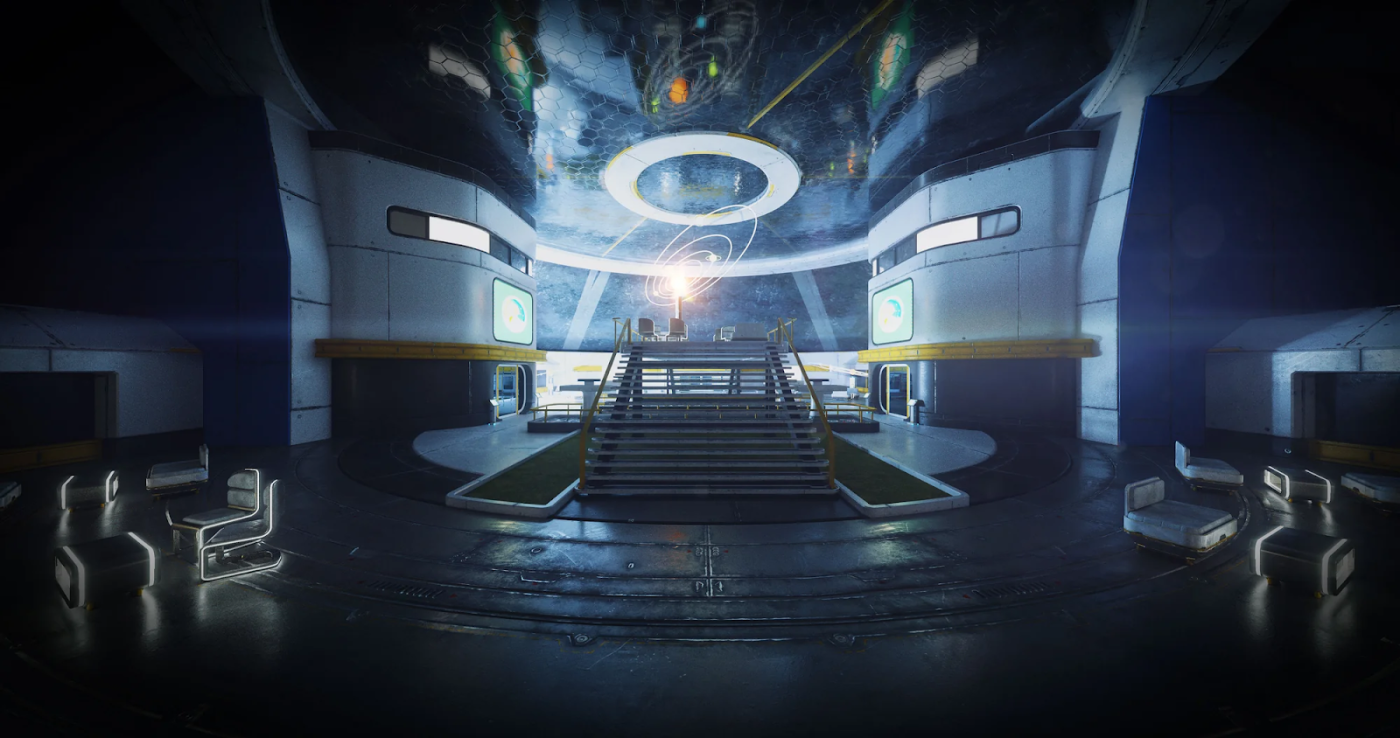
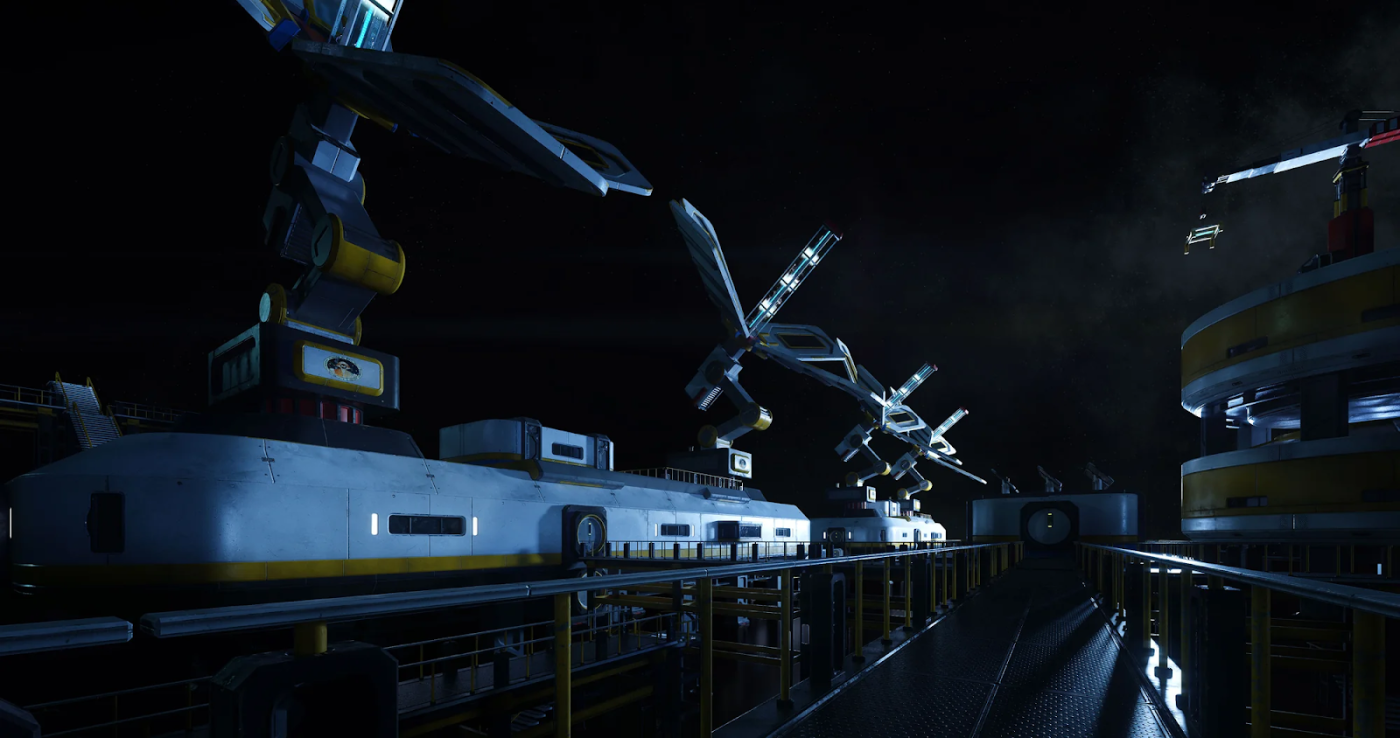
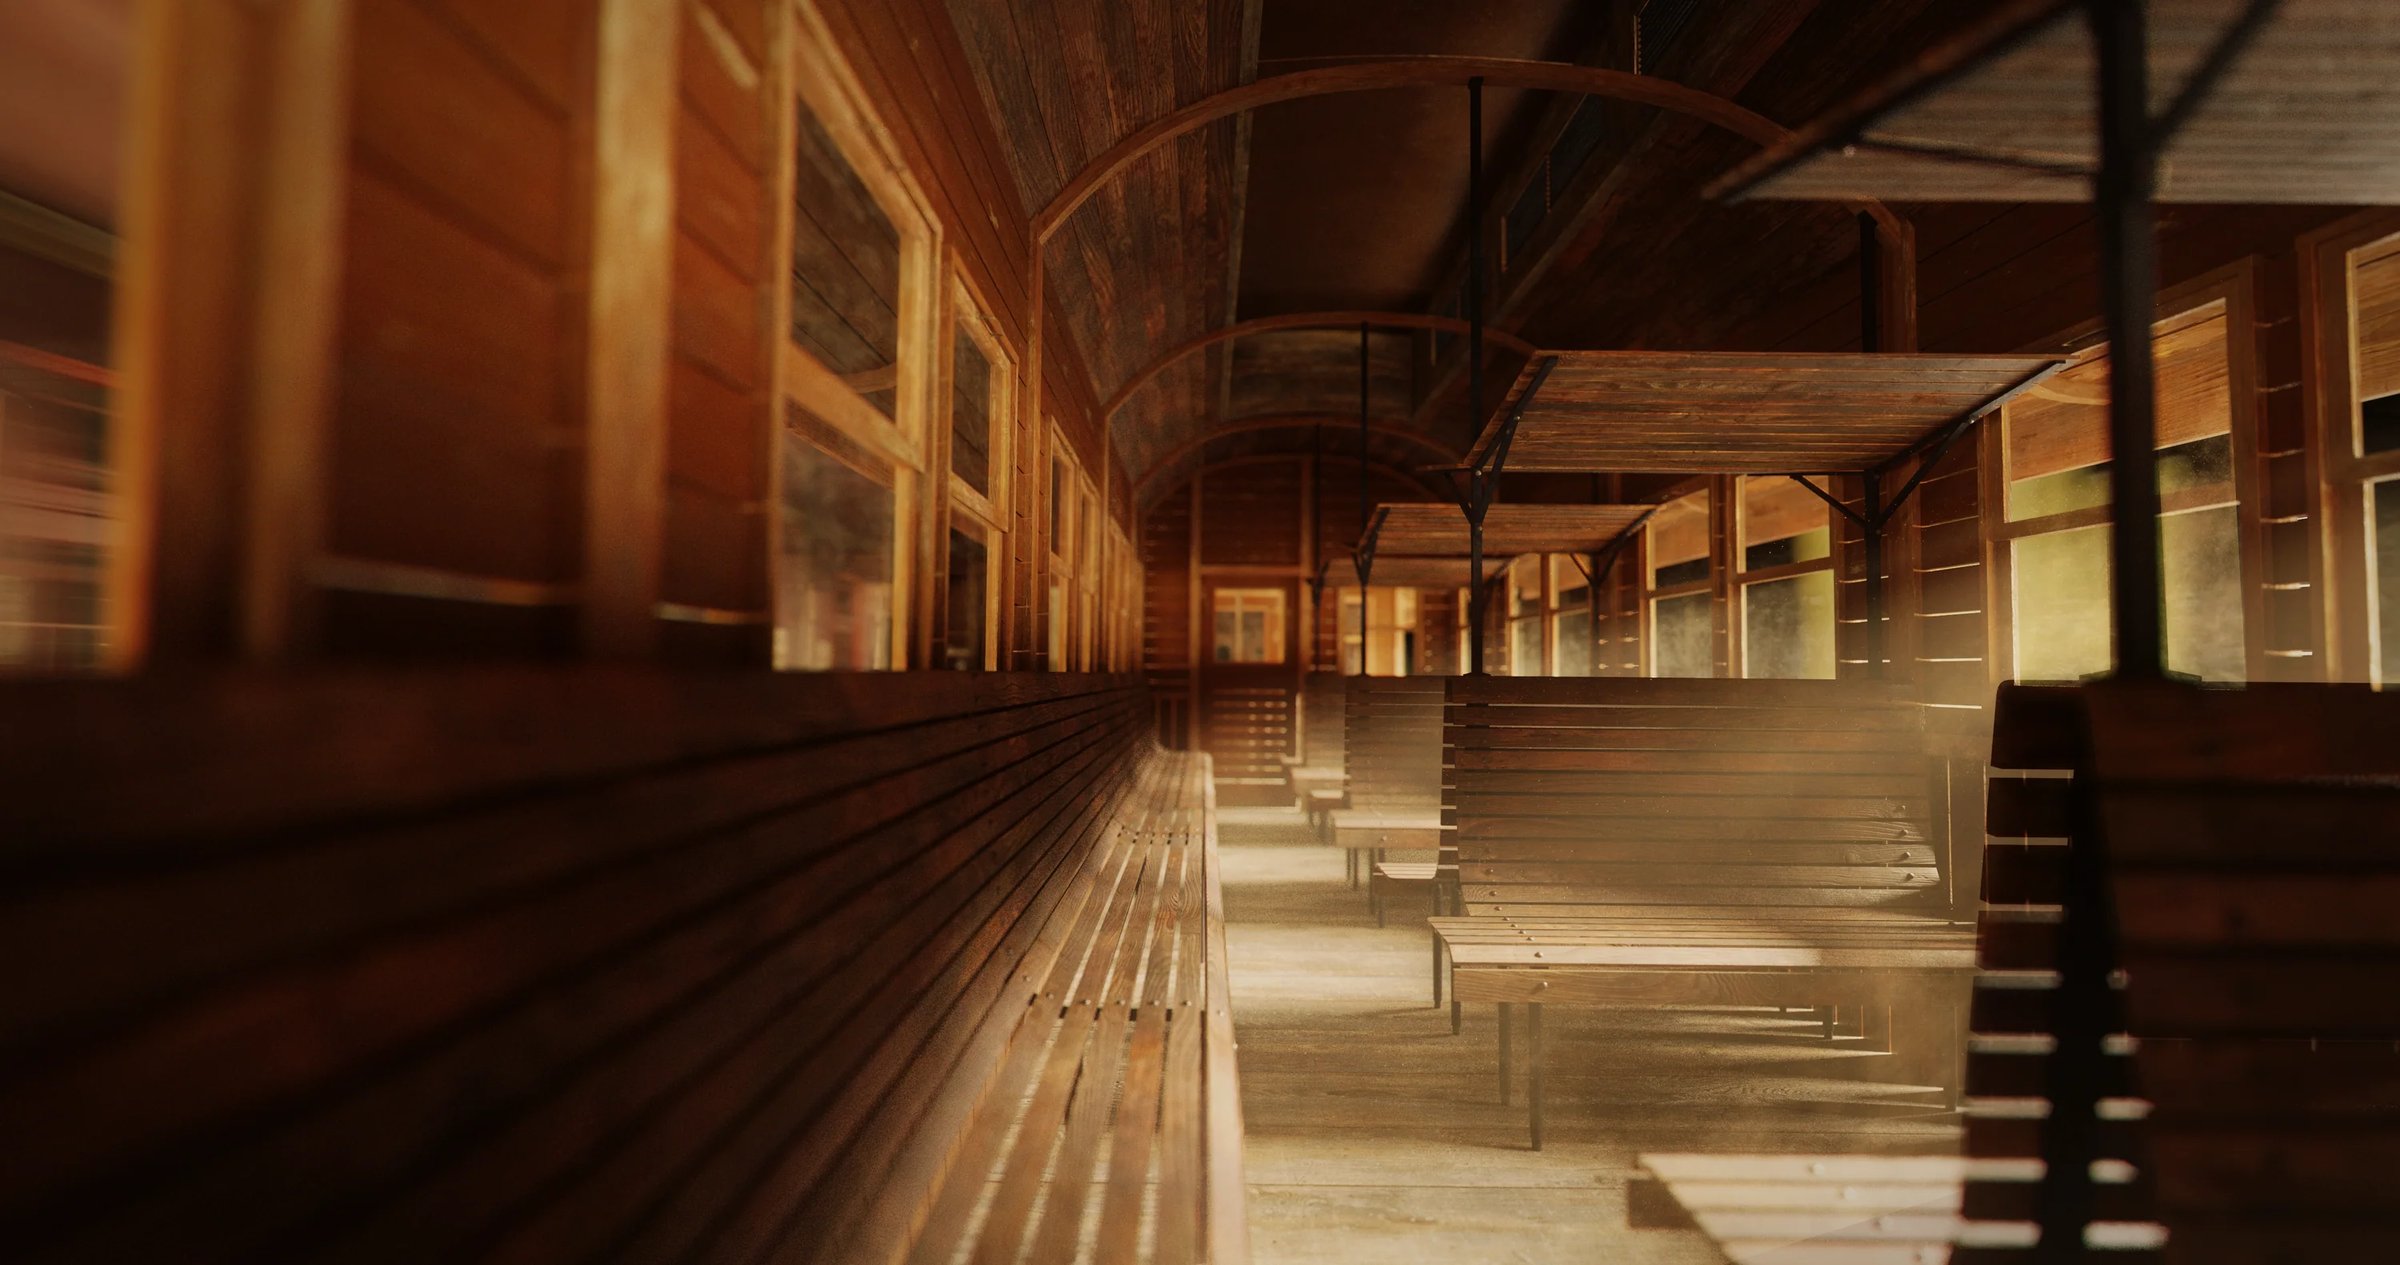
With Cargo from KitBash3D (that’s us), you can download kits suited for Maya 3D. Cargo is an asset browser plugin that gives you access to over 15,000 premium 3D models and materials. With 1-click import to Maya, powerful search and filtering, and a vast library of 3D assets from a wide variety of genres, Cargo houses one of the largest asset libraries for Maya.
Now, go start modeling with Maya. You got this!