
With Secret Labs, you can embrace your inner mad scientist and bring your high-tech government labs and underground scientific worlds to life with this kit’s vacuum-sealed chambers, particle colliders, computers, servers, operation tables, x-ray machines, cryo chambers, robotic assembly lines, and dozens and dozens of more pieces of equipment that ordinary civilians shouldn't get their hands on. We were thrilled to sit down with the team responsible for this super secretive kit and discover how it was created, from the design concepts to the final build.
We start off with the detailed drawings from concept artist, Fabio Fernandes, which Sebastian Bielecki used to model the kit.
Sebastian, can you describe your first impressions of the kit when you received the concepts?
Secret labs! That’s basically all I could dream of since I spent 6 years in college studying Biotechnology and Molecular Biology! I knew this kit was going to be an amazing set. This brought up so many memories. I guess I was the perfect guy for the job!
The concepts I got were amazing. They were done by Fabio Fernandes. The diversity of shapes, amounts of details, and the way they were done are just perfect! It was great fun to start modeling this set with such a strong foundation.
Fabio was also able to deliver me a PureRef file with references that he found during the sketching phase so it was extremely helpful, because I didn’t have to start from scratch! Thanks, Fabio for thinking ahead! So as usual I started with a block out, to get all my proportions and scale of the elements. I imported a UE4 character and just started blocking shapes out, while looking at the concepts on my other screen. I don’t usually import them as a plane into 3dsMax, because they are ¾ sketches and it won’t work well that way. I usually just focus on maintaining proper size and proportions of elements. Even if in concepts they might be a bit smaller or larger, I’m always adjusting them to the size of the character.
 When everything was in place and had good proportions I started to make proper assets. I looked at all concepts and grouped those that I might be able to duplicate along with other clusters, so I wouldn't have to model the same things multiple times. I created some sort of base with elements, like chairs, desk props, some electronic devices, boxes, tanks, etc.
Then I went one by one and modeled all the unique elements. I made UVs and added the small props and the first assets were done!
Some of the assets were more complex and required a lot more time to accomplish. For example, you can see below with this piece. There were a lot of tiny elements, screws, a bit of cloth simulation, and cables. Cables always look so simple, but adding them in a believable way is always very time-consuming.

A similar thing happened with the hazmat tent. There was cloth simulation, which took me a bit more time because I wanted to achieve that thick, plasticky look. I used Marvelous Designer for this task along with 3dsmax UV block out. The technique I described in detail in the Medieval Market article.

I loved all the concepts with all the unique devices and props, and I think the huge diversity in this set will let you create stunning environments. I’m looking forward to checking them out!
I’m always open to any questions or concerns. You can find me on social media or ArtStation and drop me a line!
After modeling the kit, Sebastian packaged the kit and sent it off to concept artist Pablo Dominguez to begin the cover art. Pablo, can you breakdown how you arrived at this amazing cover for the kit.

 I’m honored to have worked on this cover for this incredible kit! The first thought that popped into my mind was: how am I going to create only one painting with so many pieces to play with?
The main goal was to get the best composition to show all the pieces the kit has to offer. The kitbash team gathered some cool references and ideas to help me with the cover. I began with a very rough layout in Blender. I created a couple of quick renders in Octane Render with different cameras to show how the composition could possibly look.
 It’s always hard to pick one because in some kind of way all of them worked pretty good! Finally, we decided to go for the camera angle from the 3rd picture.
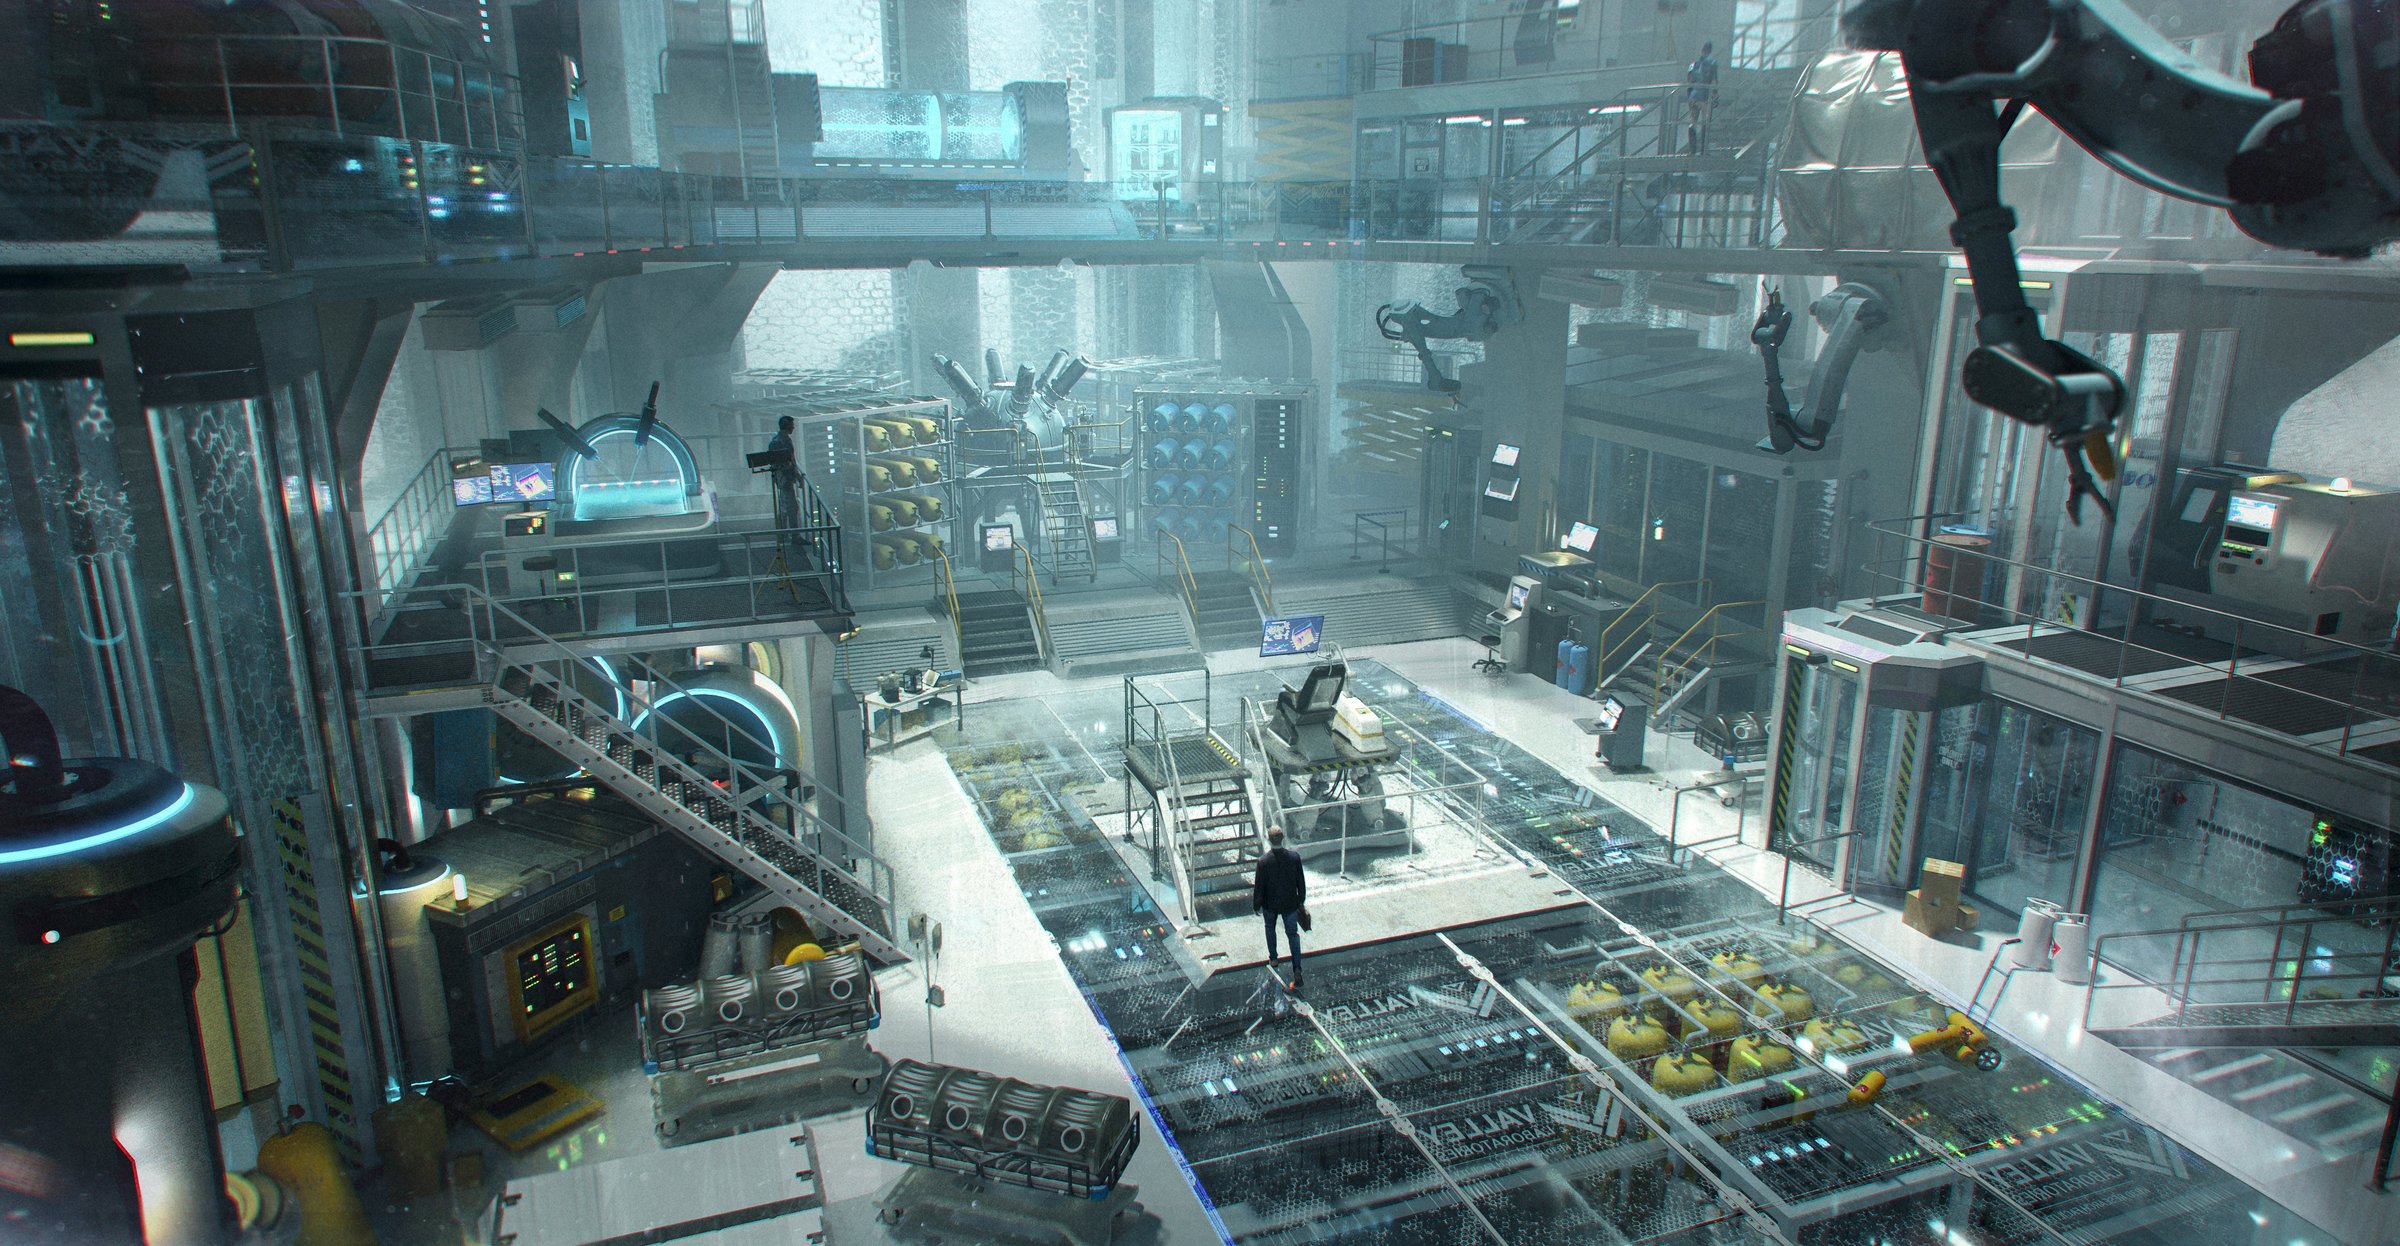
Once the camera angle was chosen, my goal was to adjust some of the kit positions and add more parts of the kit inside the picture, so I ended up adding a glass floor to reveal more objects under the main stage and a control panel in the center to have a clear focal point in the picture.
Once we were happy with this 3D render, I captured as many passes to help with the overpainting process in Photoshop. I used the Z-depth to add more depth and mood to the painting.
 The next steps were quite simple. I just had to paint over and try to take out a bit of the CG look, while maintaining a more painterly/realistic type of painting.
I always like to introduce a little bit of storytelling in the paintings so, in this one, I was imagining some kind of millionaire created a massive laboratory in a private basement or storage. That's why it is not a massive industrial building and it's more like a secret, smaller basement laboratory.
I had a lot of fun working on this and hope you can enjoy this incredible kit as much as I did.
Thanks, Sebastian and Pablo for bringing this kit to life, as a mad scientist would say... "IT'S ALIVE!!!" We cannot wait to see what the KB3D community creates with this kit! Please feel free to shout out to our team over at their ArtStations or social media platforms.
Sebastian Bielecki Artstation
Pablo Dominguez Artstation
Fábio Fernandes Artstation
Alexey HRDesign Artstaion