So, you’ve downloaded Unreal Engine 5 and are ready to create something new. But with so much potential with the software, where do you start? In this article, we’ll break down how to use Unreal Engine 5 for your next animation, video game, or design project. Time to open up your UE browser and start creating.
Short on time? Here’s how to use Unreal Engine 5
Step 1: Create a blank Project
Step 2: Use the interface
Step 3: Add a new object
Step 4: Move, rotate, and scale objects
Step 5: Use the camera
Step 6: Light your project
Step 7: Animate your project
Step 8: Render
What is Unreal Engine 5?
Unreal Engine 5 is a 3D game engine and creation software developed by Epic Games. It features a range of tools for creating immersive 3D environments, including advanced graphics and rendering capabilities, and physics simulations.
UE5 also supports virtual reality and augmented reality development, making it a popular choice for creating cutting-edge immersive experiences. Its user-friendly interface and intuitive workflows enable creators of all skill levels to design, develop, and deploy their own games and interactive experiences across a variety of platforms.
How to Use Unreal Engine 5 in 8 Steps
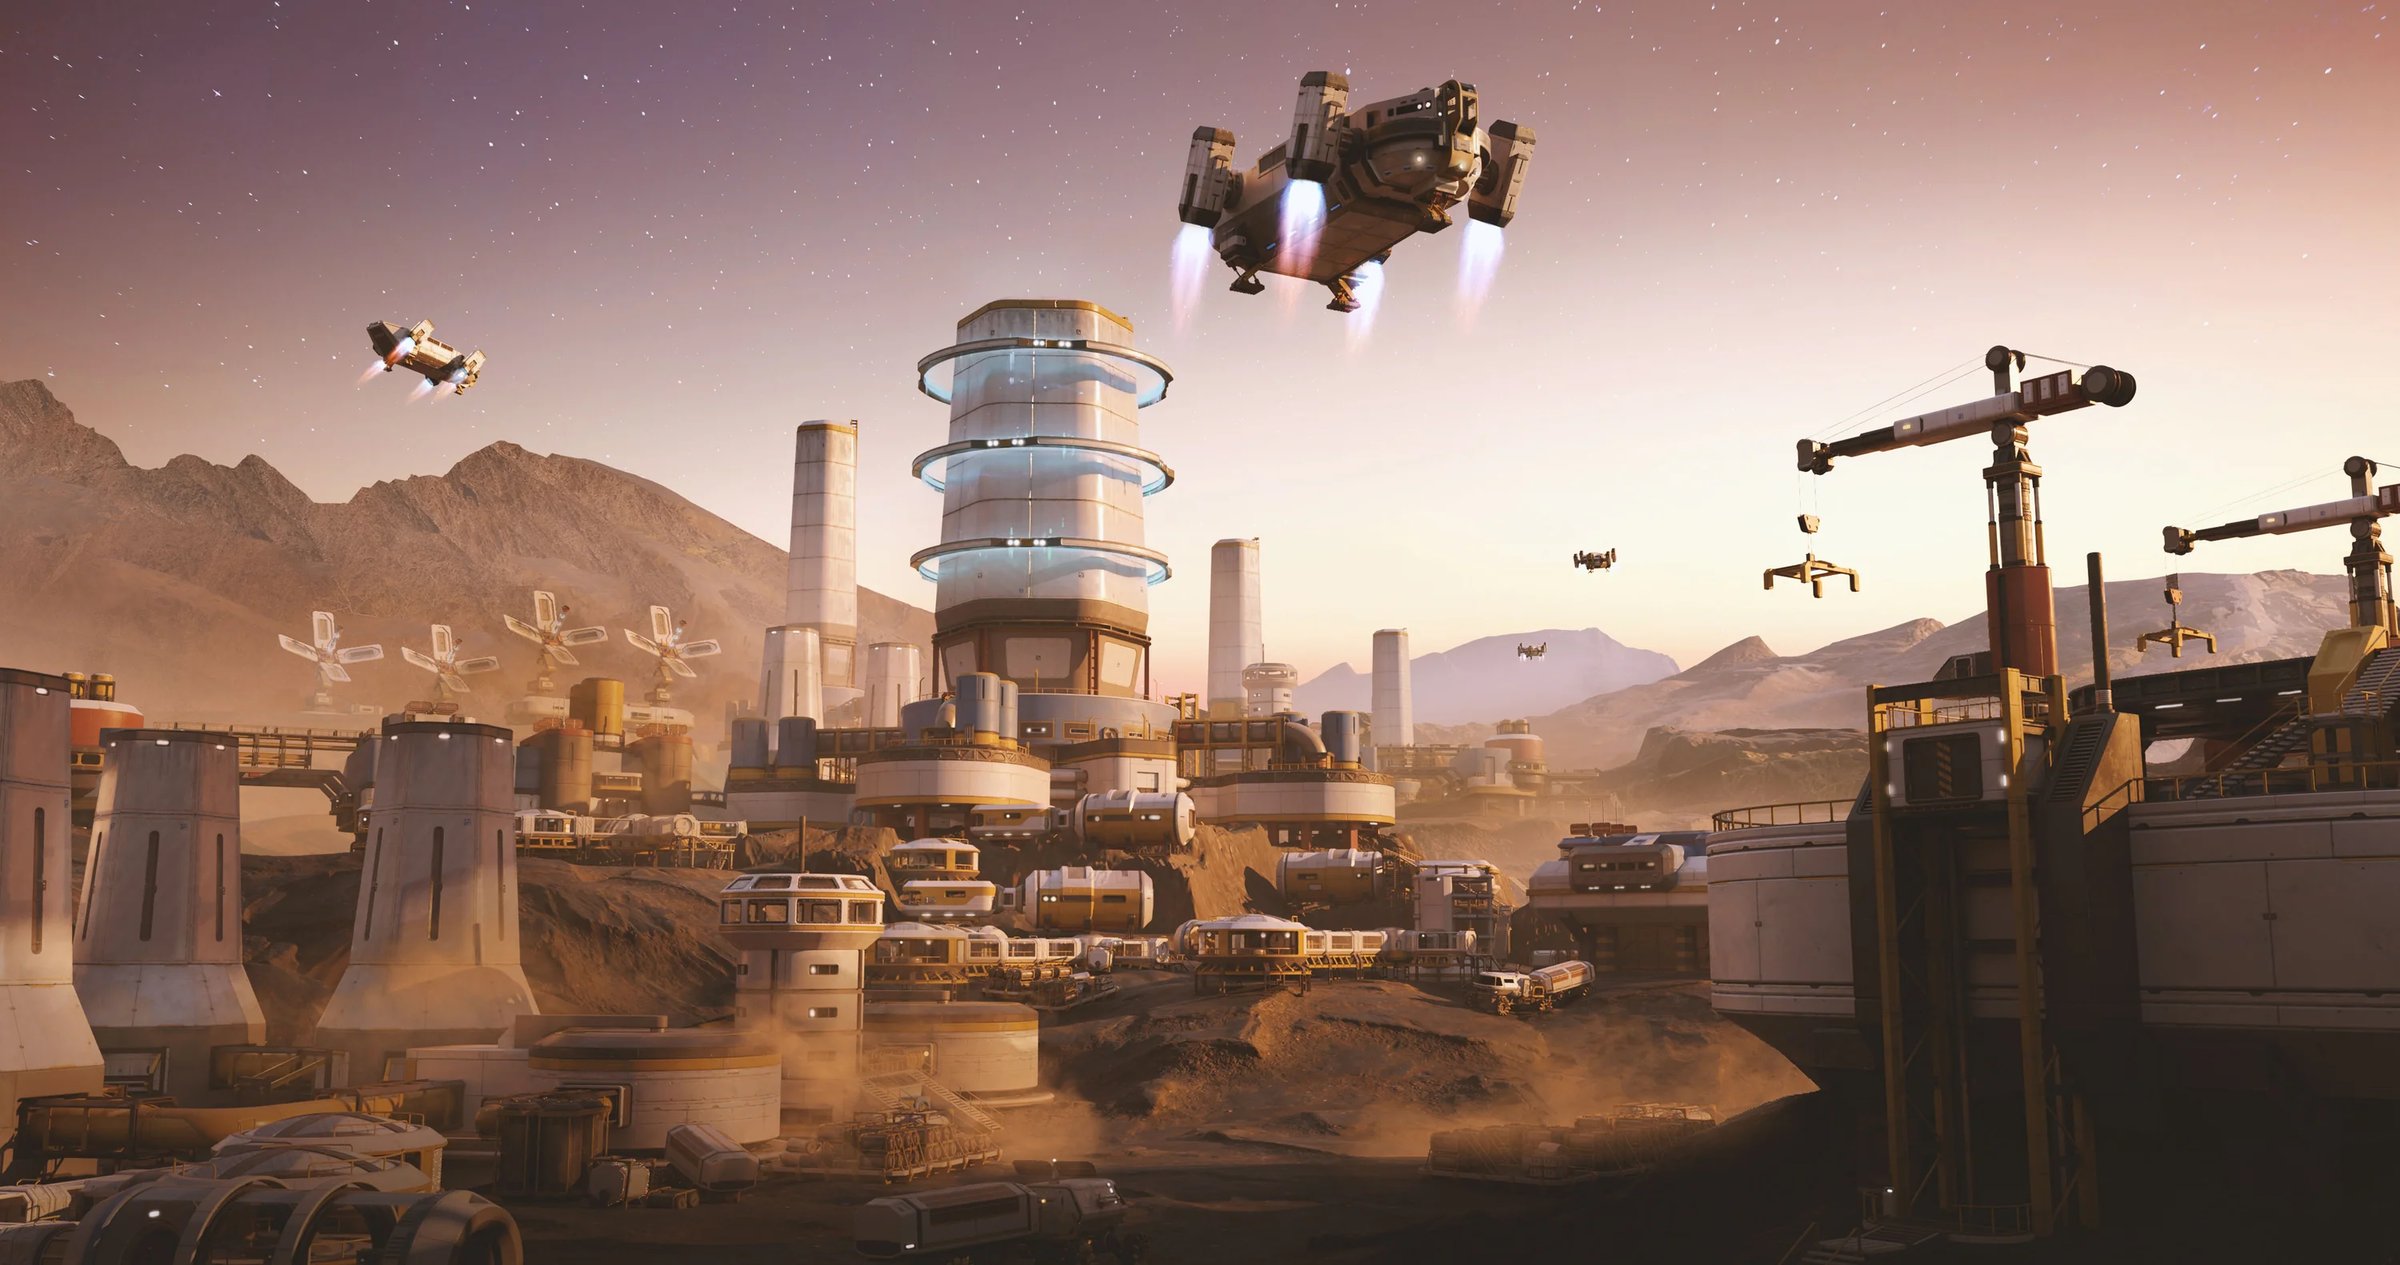
For this step-by-step on how to use Unreal Engine, we’ll use assets from our free Mission to Minerva Kit to create a new video game environment. Feel free to download the Kit and follow along.

Step 1: Create a blank Project
The first step in learning how to use Unreal Engine 5 is creating a blank project. Unreal Engine 5 makes it simple to create a new project by providing templates based on the type of project and style you’re going for.
The Unreal Engine project templates include:
Games (first person, third person, top down, vehicle, handled augmented reality, and virtual reality)
Film/Video & Live Events
Architecture and Automotive
Product Design & Manufacturing
For this example, we’ll start a blank project and ensure to check the “Starter Content” box.

Step 2: Use the interface
Unreal Engine’s interface is known for its user-friendliness because it feels like you’re playing a first-person video game. Here are the main user interface commands you should know.
Look around: Hold the right mouse button
Move around: Use the WASD keys
Move up/down: E or Q keys
Camera speed: In the top right corner from 0 to 8
Toggle game view: G key

Step 3: Add a new object
To add a new object, you need to open up the content drawer. All you need to do from there is just drag and drop an asset from the content drawer to your project. In addition to objects and characters, the content drawer houses textures and colors.
Open content drawer: Ctrl + space
You can add new assets to your content drawer using the “Migrate” command, such as the Mission to Minerva free assets. Just make sure to copy the right path of your current project so you can access them through the matching content drawer.
Pro tip: You can mock-up or preview assets by importing them to the side of the project while you’re creating. It’s like having a pile of Lego off to the side that you sort through to find the perfect length and color.

Step 4: Move, rotate, and scale objects
Make sure an object is selected before you start maneuvering it. To move your object, you can pull one of the three arrows on the widget after selecting it. You can also move the object by selecting the middle square and dragging it.
Here are additional commands to move, rotate, and scale objects:
Duplicate object: Ctrl + D
Alt duplicate object: Alt + drag
Select multiple objects: Hold the shift key

Step 5: Use the camera
Eventually, you’ll want your project to be seen or played by an audience. That’s why the camera feature on Unreal Engine 5 is so critical–it allows you to place the camera to see the view of your user. That will help you frame shots, design, and animation from your audience's viewpoint. You can also customize the lens, exposure, depth of field, and more on your camera.
To pin the camera preview, select the camera and click on the pin camera in the bottom left

Step 6: Light your project
Unreal Engine 5 provides default lighting with any new project, but if you want to create a mood or effect for your project, adjusting the lighting is one of the easiest ways to make a dramatic impact.
To adjust your project lighting: Toggle light controller: Ctrl + L
There are four essential ways to determine your project’s lighting:
Directional Light (Add > Lights > Directional Light): This controls the direction of the sun
Sky Atmosphere (Add > Visual Effects > Sky Atmosphere): You can control the atmosphere by changing its radius, color, or art direction to mimic Earth or an imaginary planet.
Sky Light (Add > Lights > Skylight): This allows you to calculate lighting for your scene so it naturally goes from day to night (if that’s what you want). Make sure to set the Sky Light to “Real Time Capture” and “Moveable.”
Exponential Height Fog (Add > Visual Effects > Exponential Height Fog): This adds ground fog to your scene to mask the edges of the design and add depth. You can adjust the color, distribution, and amount of the fog.

Step 7: Animate your project
Before creating an animation in Unreal Engine, you need to add a sequencer that contains a timeline for your animation.
To add a camera to your timeline, click + Track > Camera Cut Track, then click + Camera.
To add an object to your timeline, click + Track > Actor to Sequence.
For example, if you want to animate the location, add “Transform.”
Like most animation software, Unreal Engine uses keyframes.
To add a keyframe, click on the plus button.
Add a keyframe, then drag your camera to the location you want, and then add another keyframe. Essentially, these keyframes tell you where the camera should move and how quickly.
To play the timeline, press the spacebar.
You can use the same keyframe technique to animate an object like a person or ship.
Pro tip: Place a humanoid in your design to have a frame of reference for scale.

Step 8: Render
The last and final step in learning how to use Unreal Engine 5 is all about rendering. Rendering your project is necessary to finalize your animation. For this example, we’re using the movie render queue.
Settings > plugins > movie render queue
Click on the render icon (movie slate) on the timeline
Go into settings and render to your preferred outputs (in this example, we're rendering the project as a .png file and adding anti-aliasing)
Remember to make sure your output location is in the correct folder
Ensure your frame rate matches your timeline
Once your settings are good to go, click “Render local”
However, to convert this render into a video format, you need to import it from the output folder into video editing software.
How to Use Unreal Engine 5: Video Tutorial
Now that you've learned the basics on how to use Unreal Engine 5, check out our tutorial video hosted by UnrealSensei. He takes free Unreal Engine assets from our Mission to Minerva Kit and shows you how to set up a scene and animate it on the platform. Happy KitBashing!